Roses Transplanting Step by Step: 2026 Ultimate Guide
Roses Transplanting Step by Step: 2026 Ultimate Guide
Transplanting roses can seem daunting, but with the right approach, you can move your beloved rose bushes successfully without losing their beauty or vigor. This comprehensive roses transplanting step by step guide will walk you through every phase of the process, from preparation to aftercare, ensuring your roses thrive in their new location.
Why Transplant Roses?
There are several compelling reasons to relocate your rose plants. Perhaps your garden layout has changed, the current spot receives inadequate sunlight, or you want to divide and expand your rose collection. Whatever your motivation, understanding the proper techniques for transplanting roses step by step will maximize your success rate and keep your plants healthy.
When to Transplant Roses
Timing plays a crucial role in successful rose transplantation. The best time for transplanting roses in most regions is during their dormant season, typically late winter or early spring before new growth emerges. In warmer climates, fall transplantation allows roots to establish before summer heat arrives. Avoid transplanting during active blooming periods or extreme temperature conditions.
Signs Your Roses Need Relocation
- Reduced flowering despite proper care
- Signs of root congestion or circling roots
- Poor drainage causing waterlogged soil
- Excessive shade from maturing trees
- Competition from nearby plants for nutrients
Essential Tools and Materials
Before beginning your roses transplanting step by step process, gather all necessary supplies. You will need sharp pruning shears, a spade shovel, garden fork, wheelbarrow, burlap or tarp for transport, compost, bone meal, and fresh mulch. Having everything ready minimizes stress on the plant during the move.
Roses Transplanting Step by Step Process
Step 1: Prepare the New Location
Select a spot that receives at least six hours of direct sunlight daily with good air circulation. Dig a hole approximately twice the width of the root ball and about 18 inches deep. Mix excavated soil with compost and a handful of bone meal to create a nutrient-rich planting medium that promotes healthy root development.
Step 2: Water the Rose Thoroughly
Water your rose bush deeply one to two days before transplanting. This ensures the plant is well-hydrated and makes the root ball more cohesive during removal. A well-watered rose experiences less transplant shock and recovers faster in its new location.
Step 3: Prune the Rose Bush
Trim your rose back to about one-third of its current size before digging. Remove any dead, damaged, or diseased canes. This pruning reduces stress on the root system and balances the top growth with what the diminished roots can support after transplantation.
Step 4: Dig Around the Root Ball
Using your spade shovel, dig a trench around the rose approximately 12-15 inches from the stem. Work your way around the plant, cutting through any roots with the shovel blade. Carefully lift the root ball, preserving as much soil as possible around the delicate feeder roots.
Step 5: Transport the Rose
Gently place the root ball onto your burlap or tarp and carefully transport it to the new location. Keep the root ball moist throughout the process. For roses transplanting step by step in small spaces or containers, you may need a helper to manage larger specimens safely.
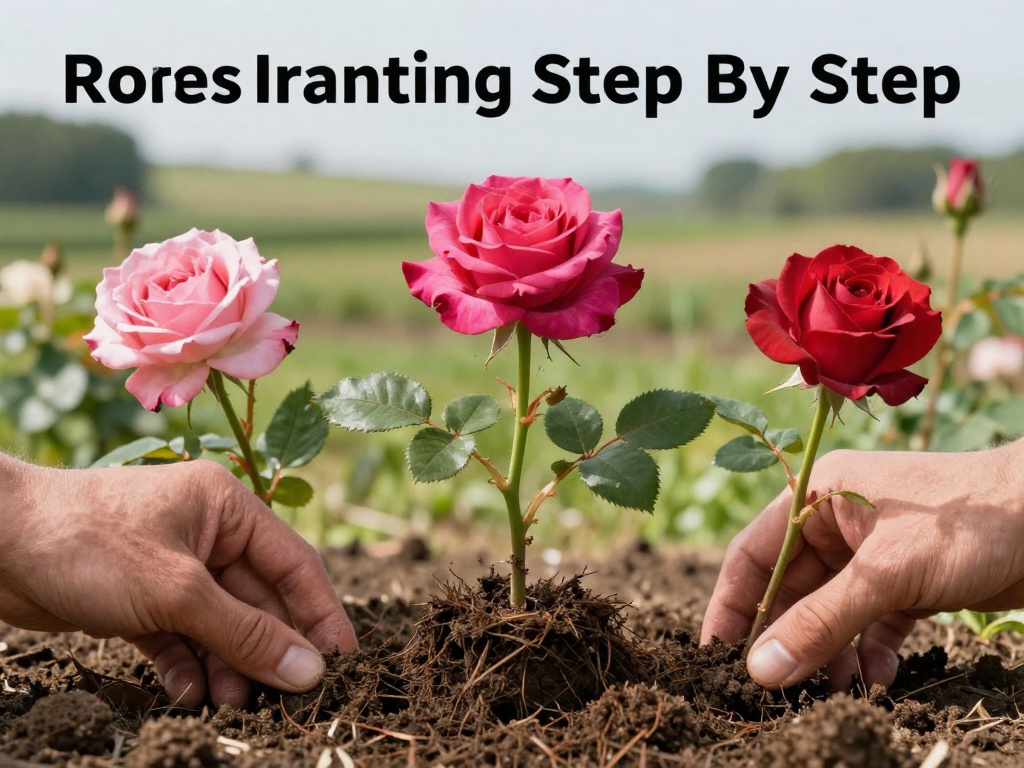
Step 6: Position and Plant
Place your rose in the center of the prepared hole, ensuring the graft union sits at or just below soil level. Backfill with the soil-compost mixture, firming gently around the roots to eliminate air pockets. Water thoroughly to settle the soil around the root system.
Aftercare for Transplanted Roses
Proper aftercare determines whether your transplanted rose flourishes or struggles. Water deeply and regularly during the first growing season, typically 2-3 times per week depending on weather conditions. Apply a 2-3 inch layer of organic mulch around the base to retain moisture and regulate soil temperature.
Feeding Schedule
- Wait 3-4 weeks before applying first fertilizer
- Use a balanced rose fertilizer monthly during growing season
- Top-dress with compost in fall for winter protection
- Monitor for signs of nutrient deficiency like yellowing leaves
Monitoring for Transplant Shock
Mild wilting and leaf drop are normal during the first few weeks. However, if your rose shows severe wilting, completely brown stems, or no new growth after four weeks, it may be experiencing transplant shock. Maintain consistent watering and avoid fertilizing stressed plants until recovery occurs.
Common Mistakes to Avoid
Many gardeners make errors that compromise their transplantation success. Avoid planting too deep, which suffocates roots, or too shallow, which exposes roots to temperature extremes. Never transplant during hot summer afternoons or when frost is expected. Refrain from overwatering, as soggy conditions lead to root rot in newly transplanted roses.
Transplanting Different Rose Types
Climbing roses require extra attention to cane placement during transplanting. Shrub roses tolerate the process well due to their vigorous root systems. Miniature roses transplant easily and adapt quickly to new locations. Hybrid tea roses need the most careful handling due to their grafted rootstocks.
Tips for Maximum Success
Choose overcast days for transplanting to reduce moisture loss through evaporation. Consider using a root stimulator product containing auxins to encourage new root growth. Maintain a journal of your transplanting dates and conditions to refine your technique year after year.
Final Thoughts
Mastering roses transplanting step by step takes practice, but even novice gardeners can achieve excellent results with patience and attention to detail. Your transplanted roses may take one to two growing seasons to fully establish, but the wait is worth it when you see them blooming beautifully in their improved location.
FAQ
What is the best month for transplanting roses?
The optimal time depends on your climate zone. In most regions, late winter or early spring while roses are still dormant provides the best results. Aim for February through March when the ground can be worked but before active growth begins.
Can I transplant roses that are already blooming?
While possible, transplanting blooming roses causes significant stress and often results in failed blooms that season. If you must move a blooming rose, remove all flowers and buds before transplanting to redirect the plant's energy toward root establishment.
How long does it take for transplanted roses to recover?
Most roses require one full growing season to recover from transplanting, with full recovery taking up to two years for established specimens. You may see new growth within 4-6 weeks if conditions are favorable, but the root system needs more time to fully establish.
Should I add fertilizer when transplanting roses?
Do not apply fertilizer immediately after transplanting. Wait three to four weeks before introducing any fertilizers to allow roots to settle and begin absorbing nutrients naturally. Too much fertilizer too soon can burn delicate new roots.
How do I know if my transplanted rose is surviving?
Signs of successful establishment include new leaf growth within 4-6 weeks, canes retaining flexibility and green color, and new basal shoots emerging from the base. Persistent wilting, completely brown canes, or lack of any new growth after eight weeks indicate the transplant may have failed.
Can I transplant roses to containers step by step?
Yes, roses transplanting step by step to containers follows similar principles but requires excellent drainage and quality potting mix. Choose compact varieties suited for containers and ensure the pot has adequate drainage holes. Container roses need more frequent watering and feeding than those planted in ground soil.
No comments