How to Master Corn Transplanting Step by Step in 2026
How to Master Corn Transplanting Step by Step in 2026
Corn transplanting step by step is a valuable technique for gardeners who want to get a head start on the growing season or maximize yields in shorter climates. While direct sowing is common, transplanting corn seedlings offers flexibility and can lead to earlier harvests. This comprehensive guide walks you through every stage of the corn transplanting process, from seed starting to final placement in your garden.
Why Choose Transplanting Over Direct Sowing?
Understanding the benefits of transplanting helps you decide if this method suits your gardening goals. Corn transplanting step by step allows you to control early growth conditions and extends your growing season significantly.
Key Advantages
- Earlier harvest by starting seedlings indoors 2-3 weeks before last frost
- Better weed control during early growth stages
- Reduced seed waste since you can select strongest seedlings
- Protection from early-season pests like crows and cutworms
- Ideal for northern gardeners with short summers
Understanding Corn Transplanting Timing
Timing determines success when learning corn transplanting step by step. Corn seedlings have specific requirements before they can handle outdoor conditions.
When to Start Seeds Indoors
Begin seed starting 3-4 weeks before your calculated transplant date. For most regions, this means starting seeds in early spring. The goal is to have seedlings ready when soil temperatures reach at least 60°F (16°C).
Frost and Temperature Considerations
Never transplant corn before all danger of frost has passed. Young corn plants are extremely sensitive to cold and will suffer severe damage or death if exposed to frost. Wait until nighttime temperatures consistently stay above 50°F (10°C).
What You'll Need for Successful Corn Transplanting
Gathering proper supplies before beginning makes the corn transplanting step by step process smoother and more successful.
Essential Supplies
- High-quality corn seeds (recommended: 2-3 seeds per cell for selection)
- Seed starting trays or peat pots (minimum 3-inch depth)
- Sterile seed starting mix
- Heat mat for germination (soil temp: 75-85°F)
- Grow lights or sunny windowsill
- Watering can with fine rose attachment
- Garden trowel
- Organic compost
Corn Transplanting Step by Step Process
Step 1: Start Seeds in Containers
Fill seed starting trays with sterile potting mix, leaving 1/4 inch from the top. Plant corn seeds 1 inch deep, 2-3 per cell. Water thoroughly until soil is evenly moist but not waterlogged. Cover with a humidity dome until germination occurs, typically in 7-10 days.
Step 2: Provide Proper Light and Temperature
Once seedlings emerge, remove the humidity dome and place trays under grow lights. Seedlings need 14-16 hours of light daily. Maintain room temperature around 70°F (21°C). Rotate trays regularly to ensure even growth and prevent leggy seedlings.
Step 3: Harden Off Seedlings Gradually
Begin hardening off corn seedlings 7-10 days before transplanting. Start by placing them outside for 1-2 hours in indirect sunlight. Gradually increase exposure time and direct sunlight over 7-10 days. This toughens seedlings and prepares them for outdoor conditions.
Step 4: Prepare the Transplant Site
Choose a sunny location with well-draining soil. Work organic compost into the top 6 inches of soil. Create rows spaced 30-36 inches apart. The planting hole should be slightly deeper than the seedling's root ball to accommodate proper root development.
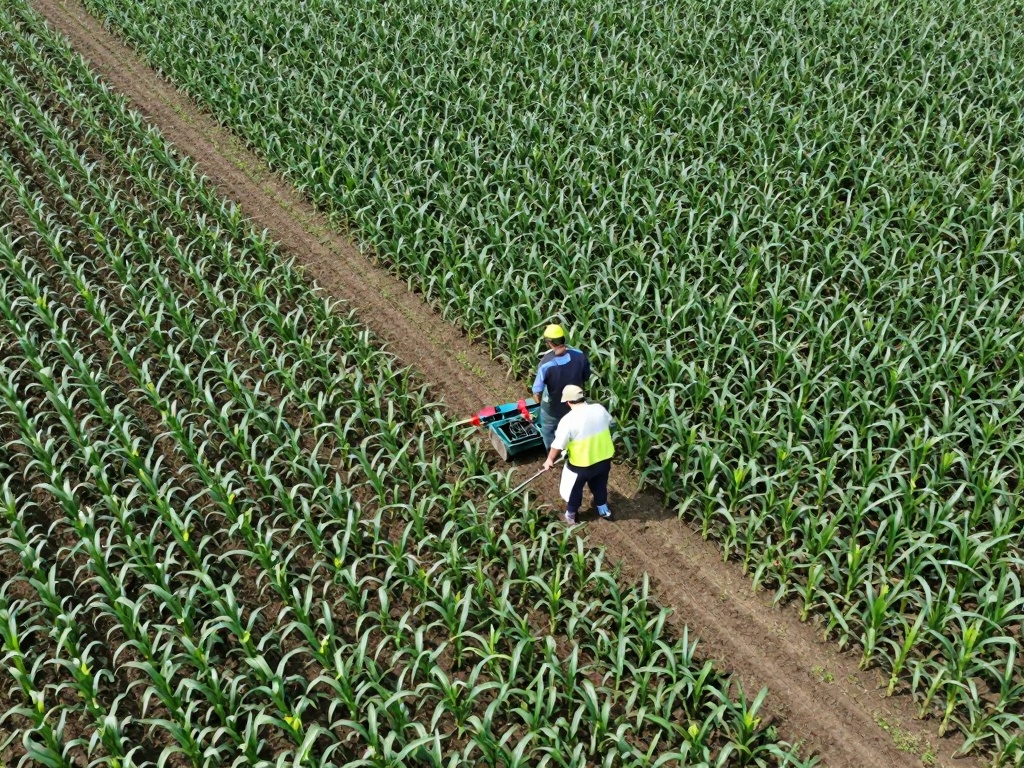
Step 5: Transplant Seedlings Carefully
Water seedlings thoroughly 24 hours before transplanting. Gently remove each seedling from its container, preserving the root ball intact. Place in the prepared hole at the same depth it grew in the container. Backfill with soil and firm gently around the base. Water immediately with diluted transplant solution.
Step 6: Space Plants Correctly
Space corn plants 9-12 inches apart within the row. Corn pollinates best when planted in blocks rather than single rows, so arrange in groups of at least 4 rows for optimal wind pollination. Proper spacing prevents competition for nutrients and sunlight.
Caring for Transplanted Corn Seedlings
Proper aftercare following corn transplanting step by step ensures strong establishment and vigorous growth throughout the season.
Watering Requirements
Corn needs consistent moisture, especially during tassel formation. Provide 1-1.5 inches of water weekly through rainfall or irrigation. Water deeply at soil level rather than overhead to prevent disease. Mulching helps retain moisture and regulate soil temperature.
Feeding Schedule
Apply balanced organic fertilizer 2-3 weeks after transplanting. Side-dress with nitrogen-rich fertilizer when plants reach knee height and again when tassels appear. Corn is a heavy feeder and responds well to consistent nutrition.
Support and Protection
While corn usually doesn't need staking, windy sites may benefit from temporary support. Install windbreaks or plant in sheltered areas. Monitor for pests like corn earworms and aphids, and address problems promptly with organic solutions.
Common Corn Transplanting Mistakes to Avoid
Learning what NOT to do is crucial when mastering corn transplanting step by step. These errors commonly lead to poor results.
- Transplanting too early: Cold soil damages corn roots and stunts growth
- Skipping hardening off: Sudden outdoor exposure causes transplant shock
- Deep planting: Corn roots need oxygen; plant at original depth only
- Poor spacing: Crowded plants compete for resources and produce smaller ears
- Inconsistent watering: Stress during early growth affects final yield
Troubleshooting Transplant Problems
Even with careful corn transplanting step by step methods, problems can occur. Quick identification and correction save your crop.
Signs of Transplant Shock
Wilting, yellowing leaves, or stunted growth after transplanting indicates shock. Provide shade during hottest hours, maintain consistent watering, and wait for recovery. Most seedlings bounce back within a week with proper care.
Purple or Reddish Leaves
Discoloration often signals phosphorus deficiency, especially in cool soil. Apply organic phosphorus fertilizer and warm the soil with mulch. Once soil temperatures rise, plants typically recover their green color.
FAQ
How long does it take corn to recover from transplanting?
Corn seedlings typically recover from transplant shock within 7-14 days. Providing consistent moisture, partial shade during hot afternoons, and avoiding fertilizer until established helps speed recovery significantly.
Can corn be successfully transplanted in containers?
Yes, corn grows well in large containers (minimum 5 gallons) using the same corn transplanting step by step process. Ensure adequate spacing, drainage, and support for tall plants. Container corn may need more frequent watering and feeding.
What is the best soil temperature for transplanting corn?
Soil temperature should be at least 60°F (16°C) at 4-inch depth before transplanting corn outdoors. Using a soil thermometer ensures accurate readings. Cold soil slows root development and makes plants vulnerable to disease.
How much does corn transplanting cost compared to direct sowing?
Transplanting requires additional supplies like seed trays, starting mix, and grow lights, costing approximately $20-50 initially. However, this investment often pays off through higher germination rates, earlier harvests, and reduced seed waste.
Is corn transplanting step by step method suitable for beginners?
This technique is beginner-friendly with proper guidance. Starting seeds indoors gives you more control over growing conditions. Following the step-by-step process and avoiding common mistakes leads to successful results for first-time growers.
When will transplanted corn produce ears?
Most corn varieties produce ears 60-90 days after transplanting, depending on variety and growing conditions. Early-season varieties mature faster, while mid and late-season types produce larger ears with longer growing requirements.
No comments