Parsley Vertical Gardening: 10 Steps for a Bountiful Harvest
Parsley Vertical Gardening: 10 Steps for a Bountiful Harvest
Vertical gardening has revolutionized how we grow herbs in small spaces, and parsley vertical gardening step by step is one of the most rewarding techniques for any home gardener. Whether you have a tiny balcony, a small patio, or simply want to maximize your kitchen garden, growing parsley vertically allows you to harvest fresh, aromatic herbs year-round while saving precious ground space.
Why Choose Parsley for Vertical Gardening?
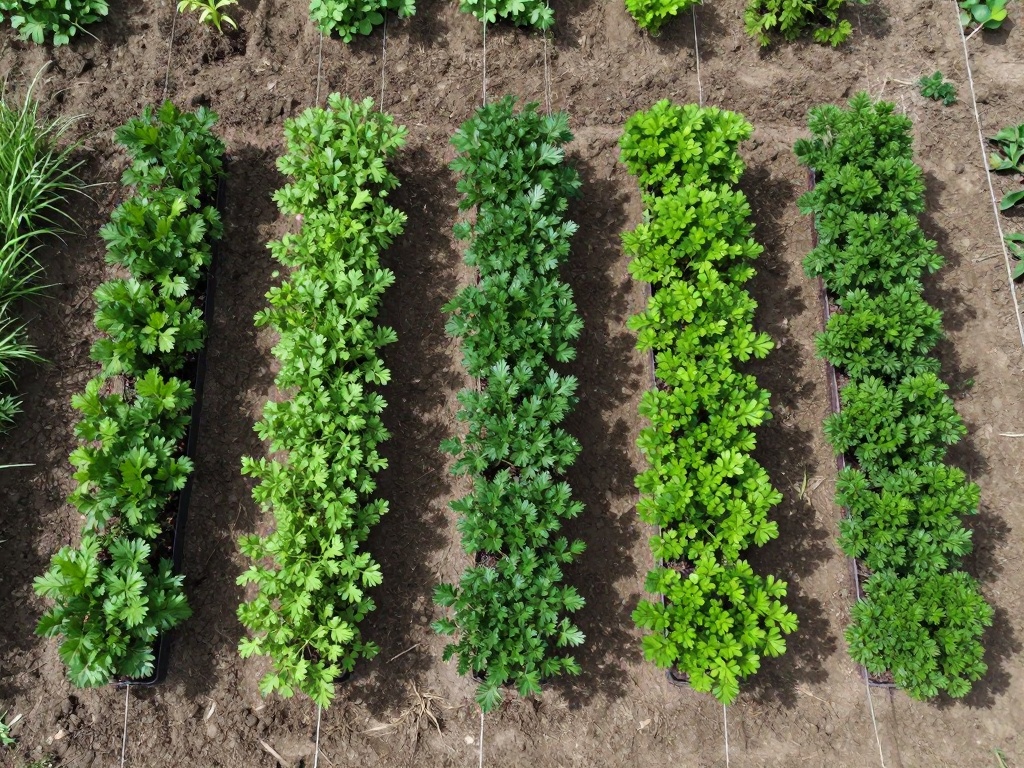
Parsley is one of the most versatile culinary herbs, perfect for vertical growing systems. This hardy biennial plant thrives in containers and vertical setups, producing abundant harvests from spring through fall. Its compact root system adapts well to limited soil depth, making it ideal for tower gardens and wall-mounted planters.
Benefits of Growing Parsley Vertically
- Maximizes limited space in apartments and small gardens
- Keeps herbs away from soil-borne pests and diseases
- Makes harvesting easier with plants at eye level
- Improves air circulation around foliage
- Adds visual appeal to patios, balconies, and kitchens
Choosing the Right Parsley Variety
Before starting your parsley vertical gardening step by step journey, selecting the appropriate variety matters significantly. Curly parsley (Petroselinum crispum) offers ornamental value and mild flavor, while flat-leaf Italian parsley provides bolder taste ideal for cooking. Both varieties grow excellently in vertical systems.
Flat-Leaf vs. Curly Parsley
Flat-leaf parsley typically produces higher yields and withstands weather conditions better than curly varieties. However, curly parsley works beautifully in decorative vertical towers where appearance matters. Consider growing both types for culinary diversity.
Essential Materials and Equipment
Gathering quality materials ensures your vertical parsley garden succeeds. Each component plays a crucial role in plant health and productivity throughout the growing season.
Vertical Structure Options
- Modular pocket planters with drainage system
- Tower gardens with integrated watering
- Stacked containers or raised beds
- Wall-mounted planters with individual pockets
- PVC pipe systems with drilled holes
Supporting Materials Needed
- High-quality potting mix with perlite
- Organic compost for nutrients
- Slow-release fertilizer pellets
- Watering system or drip irrigation
- Support brackets and wall anchors
Step-by-Step Parsley Vertical Gardening Process
Step 1: Select the Perfect Location
Parsley thrives in locations receiving 6-8 hours of direct sunlight daily. South-facing walls or balcony spots work optimally for most growing zones. If outdoor space lacks sufficient light, supplement with grow lights positioned 12-18 inches above plants.
Step 2: Prepare Your Vertical Structure
Assemble your chosen vertical gardening system according to manufacturer instructions. Ensure proper spacing between planting pockets—typically 6-8 inches apart for parsley. Install necessary drainage systems to prevent waterlogging, which causes root rot in parsley plants.
Step 3: Create Optimal Growing Medium
Mix quality potting soil with aged compost in a 70:30 ratio. Add perlite for improved drainage and aeration. The growing medium should be loose, well-draining, and rich in organic matter to support healthy parsley development.
Step 4: Plant Parsley Seedlings or Transplants
Fill each pocket with prepared growing medium, leaving one inch below the rim. Plant seedlings at the same depth they grew in their original containers. For seeds, plant 1/4 inch deep and keep consistently moist until germination, which typically takes 14-21 days.
Step 5: Establish Proper Watering Schedule
Water parsley deeply when the top inch of soil feels dry, usually every 2-3 days depending on climate. Vertical gardens dry out faster than traditional beds, so monitor moisture levels carefully. Drip irrigation systems ensure consistent hydration throughout the structure.
Step 6: Feed Your Plants Regularly
Apply liquid fertilizer every two weeks during active growth periods. Use a balanced organic fertilizer with equal nitrogen, phosphorus, and potassium. Additional seaweed extract provides trace minerals essential for aromatic oil development in parsley leaves.
Step 7: Maintain and Prune Consistently
Harvest parsley regularly by cutting outer stems first, encouraging bushier growth from the center. Remove any yellowing leaves promptly to prevent disease spread. Pruning prevents flowering, which causes leaves to become bitter and reduces overall productivity.
Step 8: Monitor for Pests and Diseases
Common parsley pests include aphids, spider mites, and parsley worms. Inspect plants weekly and remove insects manually or spray with organic insecticidal soap. Good air circulation in vertical systems naturally reduces fungal disease risk.
Step 9: Protect During Extreme Weather
Move portable vertical gardens indoors during frost conditions. For fixed installations, cover plants with frost cloth or move to sheltered positions. Extreme heat requires additional watering and afternoon shade to prevent wilting.
Step 10: Plan for Continuous Harvest
Stagger plantings every 4-6 weeks for constant supply. Replace tired plants with fresh seedlings every 3-4 months. In mild climates, parsley survives winter outdoors in vertical gardens, providing year-round harvests with minimal protection.
Common Mistakes to Avoid
Understanding typical errors helps ensure your parsley vertical gardening step by step experience yields excellent results. Overwatering remains the most common mistake, causing yellowing leaves and root problems. Insufficient light produces leggy, weak growth with diminished flavor.
Troubleshooting Growth Issues
- Yellow leaves: Usually indicates overwatering or nutrient deficiency
- Leggy growth: Signals insufficient sunlight exposure
- Bitter taste: Occurs when plants bolt or age significantly
- Slow growth: May require additional fertilization or larger containers
Harvesting and Storage Tips
Begin harvesting parsley once stems have three or more segments. Cut stems at the base using clean, sharp scissors. Fresh parsley retains maximum flavor when used immediately, though it stores well in water at room temperature for up to two weeks.
Preserving Your Harvest
Freeze chopped parsley in ice cube trays with olive oil for convenient cooking additions. Alternatively, dry parsley by hanging bundles upside down in a warm, ventilated area. Dried parsley stores in airtight containers for up to one year.
Final Thoughts
Parsley vertical gardening step by step transforms limited spaces into productive herb gardens. This technique combines space efficiency with accessibility, making fresh herbs available right outside your door. Start your vertical parsley garden today and enjoy continuous harvests of this nutritious, flavorful herb.
Frequently Asked Questions
How long does parsley take to grow in a vertical garden?
Parsley typically reaches harvestable size within 70-90 days from seed, or 30-40 days from transplant. Consistent watering and adequate sunlight accelerate growth significantly in vertical systems.
Can parsley survive winter in a vertical garden?
Parsley tolerates light frosts and temperatures down to 20°F (-6°C). In USDA zones 7 and above, it often survives winter outdoors. Move container gardens indoors during harsh freezes for continued production.
How much sunlight does parsley need for optimal growth?
Parsley requires minimum 4-6 hours of direct sunlight daily, though 6-8 hours produces the healthiest plants with the most intense flavor. Indoor vertical gardens benefit from supplemental LED grow lighting.
What is the best vertical gardening system for herbs?
Modular pocket planters and hydroponic tower systems work best for parsley. Look for systems with at least 6-inch soil depth, proper drainage, and accessible placement for easy harvesting and maintenance.
No comments