10 Proven Heirloom Tomato Seed Saving Techniques for Beginners
10 Proven Heirloom Tomato Seed Saving Techniques for Beginners
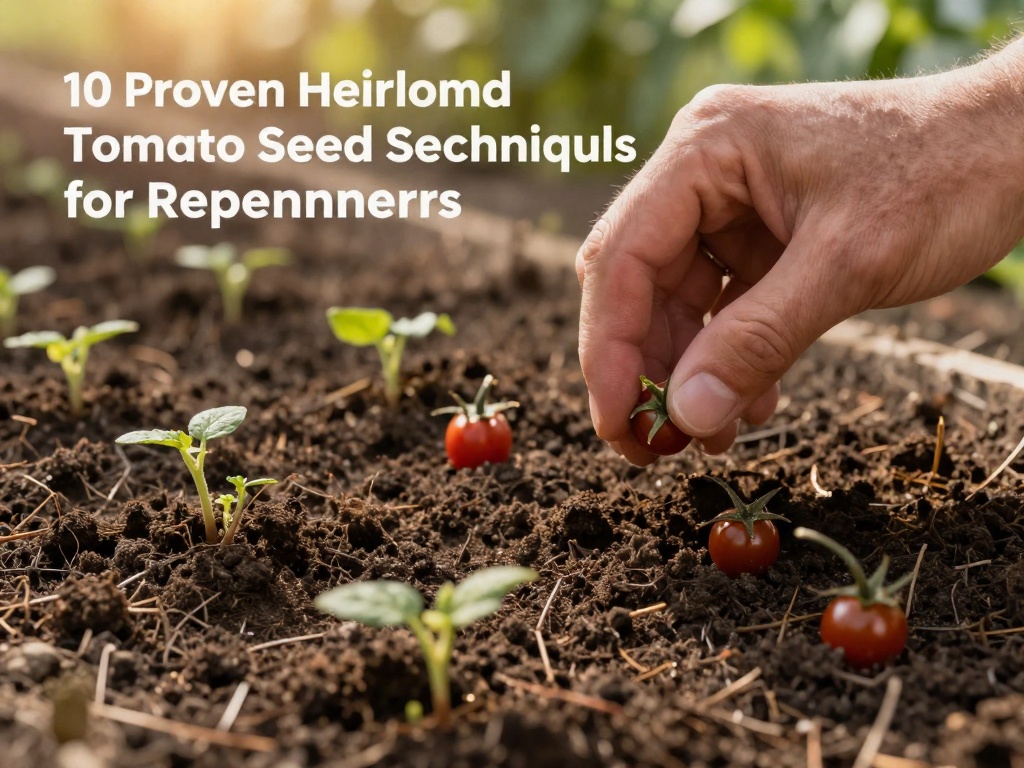
Seed saving represents one of the most rewarding practices in home gardening, and heirloom tomato seed saving techniques for beginners provide an accessible entry point into this ancient tradition. By saving seeds from your best-performing heirloom tomatoes, you not only preserve delicious flavors that commercial varieties have lost but also develop plants perfectly adapted to your local growing conditions. This comprehensive guide walks you through every step of the process, ensuring your first seed-saving experience yields successful results year after year.
Why Save Seeds from Heirloom Tomatoes?
Heirloom tomatoes offer remarkable diversity in color, shape, flavor, and growing characteristics that modern hybrid varieties simply cannot match. Unlike hybrids, heirlooms produce offspring that grow true to type, meaning the next generation maintains the same desirable traits as the parent plant. This genetic stability makes heirloom tomatoes ideal for beginners learning seed-saving techniques.
By saving seeds from your healthiest, most productive plants, you gradually develop a strain specifically adapted to your garden's soil, climate, and growing conditions. Over several seasons, this natural selection process results in increasingly vigorous plants that require less intervention and produce better harvests. Additionally, seed saving connects you to centuries of agricultural heritage while reducing your dependence on commercial seed sources.
Understanding Heirloom Tomato Types
Open-Pollinated vs. Hybrid Varieties
Before beginning your seed-saving journey, distinguishing between open-pollinated heirloom varieties and hybrid tomatoes proves essential. Open-pollinated tomatoes pollinate naturally through insects, wind, or gravity, producing seeds that reliably grow into plants identical to their parents. Hybrid varieties, created by deliberately crossing two different parent plants, produce seeds that do not come true—their offspring often display unpredictable characteristics different from both parents.
Popular Heirloom Varieties for Beginners
Several heirloom varieties particularly suit beginners due to their vigorous growth, disease resistance, and reliable seed production. Brandywine remains the gold standard for flavor, producing large pink fruits on potato-leaf plants. Cherokee Purple offers stunning purple-red coloration and complex, rich taste. San Marzano delivers exceptional paste quality with meaty flesh and few seeds. Yellow Pear produces abundant small fruits ideal for snacking, while Green Zebra provides tangy, eye-catching fruits perfect for salads.
Essential Tools and Materials
Gathering the right equipment before starting ensures smooth, successful seed extraction. You will need ripe, fully mature tomatoes from your best-performing plants—never save seeds from diseased or damaged fruit. Basic supplies include sharp knives for cutting, clean glass jars or containers for fermentation, fine mesh strainers for cleaning, paper towels or coffee filters for drying, and labeled envelopes or vials for storage.
Sterilization matters significantly in seed saving. All containers and tools should be clean and dry before use to prevent mold contamination. Many experienced seed savers recommend using separate equipment for seed extraction to avoid any chance of cross-contamination from kitchen cooking activities. Small digital scales prove helpful for tracking seed quantities, though they remain optional for home gardeners.
The Fermentation Method: Core Heirloom Tomato Seed Saving Technique
Step-by-Step Fermentation Process
The fermentation method represents the most reliable technique for extracting clean, viable seeds from heirloom tomatoes. Begin by selecting fully ripe tomatoes from healthy plants—the fruit should display complete color development and slightly soft texture when gently squeezed. Cut the tomatoes horizontally and squeeze the seeds and surrounding gel into a clean glass jar, adding a small amount of water to cover the mixture.
Cover the jar loosely with plastic wrap or a coffee filter secured with a rubber band, allowing air circulation while preventing fruit fly entry. Place the jar in a warm location away from direct sunlight, maintaining temperatures between 70-85°F. The fermentation process typically requires three to five days, during which beneficial bacteria naturally break down the protective gel coating surrounding each seed and destroy potentially harmful pathogens.
Signs of Successful Fermentation
During fermentation, you will observe bubbling on the surface and a somewhat unpleasant odor—these signs indicate the process proceeds correctly. A layer of white or gray mold may form on top, which remains normal and harmless. Once the mixture has fermented for the appropriate duration and most seeds have sunk to the jar's bottom, the fermentation stage is complete and ready for cleaning.
Carefully pour off the mold layer and any floating seeds, as viable seeds always sink while empty or non-viable seeds float. Add clean water, swirl gently, and pour off the liquid repeatedly until seeds appear clean. Some gardeners prefer running water through a strainer while rubbing seeds against the mesh to remove remaining gel completely. Proper cleaning significantly extends seed storage life and prevents premature germination.
Drying Tomato Seeds Properly
Effective Drying Techniques
Thorough drying proves absolutely critical for long-term seed viability. Spread clean, damp seeds in a single layer on non-stick surfaces such as paper plates, coffee filters, or ceramic plates—avoid paper towels as seeds often stick and prove difficult to remove. Position the drying surface in a warm, dry location with good air circulation and protection from direct sunlight and dust.
Label each batch immediately with the variety name and date before drying begins. Neglecting to label seeds creates confusion that compounds over years of storage. Proper labeling allows you to track which varieties performed best in your garden and helps organize your growing plans for future seasons.
Testing for Complete Dryness
Seeds must dry completely before storage to prevent mold growth and maintain germination rates. The drying process typically requires one to two weeks depending on humidity levels and air circulation. Seeds feel hard and no longer pliable when fully dried—a bent seed that snaps indicates readiness while a seed that bends without breaking requires additional drying time.
Experienced seed savers perform the "bite test" by placing seeds between their teeth. Seeds that feel rock-hard and resist any slight impression have reached proper dryness. Alternatively, store partially dried seeds briefly in the freezer for 48 hours to eliminate any residual moisture before final storage—this technique effectively kills any remaining pests while ensuring complete dryness.
Storing Heirloom Tomato Seeds Correctly
Ideal Storage Conditions
Proper storage dramatically influences seed longevity and germination rates over subsequent seasons. Store completely dried seeds in paper envelopes or glass vials in a cool, dark, dry location. Refrigerators provide excellent storage conditions when seeds remain in sealed containers to prevent moisture absorption. The ideal storage temperature ranges between 35-50°F with relative humidity below 50%.
Silica gel packets placed in storage containers absorb excess moisture and extend seed viability. Many seed libraries and experienced savers include these desiccant packets with their stored seeds. Alternatively, double-bagging seeds in zippered plastic bags with the air removed provides adequate moisture protection for short-term storage.
Seed Viability Expectations
When stored correctly under optimal conditions, properly processed heirloom tomato seeds remain viable for five to ten years, though germination rates gradually decline over time. Testing germination rates before planting season provides valuable information for planning purposes. Place twenty seeds on a damp paper towel, fold it carefully, and place in a plastic bag in a warm location for seven to ten days. Count sprouted seeds to determine your actual germination percentage.
Best Practices for Maintaining Genetic Purity
Isolation Distances
Preserving variety purity requires understanding pollination mechanisms and implementing appropriate isolation strategies. Tomatoes primarily self-pollinate through their flower structure, with pollination occurring before the flower opens. However, bees and other insects can cause cross-pollination at rates typically between 2-5%, potentially mixing varieties grown in close proximity.
Maintain isolation distances of at least 10-25 feet between different heirloom varieties to minimize cross-pollination risk. For seed stock requiring high purity, physical barriers such as row covers or isolation bags placed over flowers provide complete protection. Some seed savers dedicate entire growing seasons to single varieties when maintaining critical seed stock.
Population Size Recommendations
Saving seeds from multiple plants maintains genetic diversity and prevents inbreeding depression that causes weaker offspring over time. Save seeds from a minimum of six to twelve plants of each variety to preserve robust genetic variation. Select seeds from the healthiest, most vigorous plants exhibiting preferred characteristics such as disease resistance, productivity, and fruit quality.
Document your selection criteria and track performance across seasons. This record-keeping practice transforms casual seed saving into a purposeful plant breeding program that continuously improves variety adaptation to your specific growing conditions.
Troubleshooting Common Seed Saving Problems
Mold and Rot Issues
Mold developing during fermentation typically indicates excessive moisture, prolonged fermentation, or inadequate ventilation. Prevent mold problems by using clean containers, maintaining proper fermentation timing, and ensuring good air circulation. If significant mold appears before seeds sink, pour off the layer, add fresh water, and continue fermentation for another day or two.
Storage mold indicates incomplete drying before packaging. When discovered early, spread affected seeds immediately for additional drying. Seeds showing significant mold discoloration or musty odors should be discarded to prevent contamination spreading to other stored seeds.
Poor Germination Rates
Low germination rates often stem from harvesting seeds prematurely before fruit fully ripened, inadequate fermentation that failed to remove germination-inhibiting compounds, improper drying that left residual moisture, or extended storage under unfavorable conditions. Each growing season presents opportunities to improve technique and optimize your process based on previous results.
Always save seeds from your healthiest, most vigorous plants—their offspring inherit these positive characteristics and demonstrate improved performance over generations. This natural selection process, continued over multiple seasons, develops increasingly robust seed lines perfectly suited to your garden environment.
Expanding Your Seed Saving Practice
Once you master basic heirloom tomato seed saving techniques, consider expanding your practice to include other garden vegetables. Peppers, beans, lettuce, and peas offer excellent opportunities for beginners as these crops also primarily self-pollinate and present minimal cross-pollination concerns. Each additional crop provides valuable genetic diversity while developing your overall seed-saving competency.
Connecting with local seed libraries, seed swaps, and gardening communities provides opportunities to exchange varieties and knowledge with fellow enthusiasts. Seed libraries often offer classes and resources supporting beginning seed savers while preserving rare and regional varieties unavailable through commercial sources.
FAQ
How long does it take to save tomato seeds from start to finish?
The complete process from selecting ripe tomatoes to properly stored seeds requires approximately two to three weeks. Fermentation takes three to five days, cleaning and initial drying requires one to two days, and thorough drying in optimal conditions requires seven to fourteen additional days depending on humidity levels and air circulation.
Can I save seeds from store-bought heirloom tomatoes?
While technically possible, seeds from store-bought tomatoes may produce variable results due to unknown growing conditions and potential hybrid origin. Additionally, commercial tomatoes often undergo storage treatments that reduce seed viability. Starting with seeds from reputable suppliers or fellow gardeners dedicated to proper isolation ensures known variety purity and optimal germination potential.
Do I need to ferment tomato seeds, or can I just dry them?
While simple drying methods exist, fermentation provides superior results by removing the germination-inhibiting gel coating and eliminating harmful pathogens that reduce seed viability and plant health. Skipping fermentation may result in seeds that germinate poorly, produce weak seedlings, or carry disease. The fermentation step represents a critical component of reliable heirloom tomato seed saving techniques.
No comments