Pothos Propagation Water to Soil: Complete 7-Step Success Guide
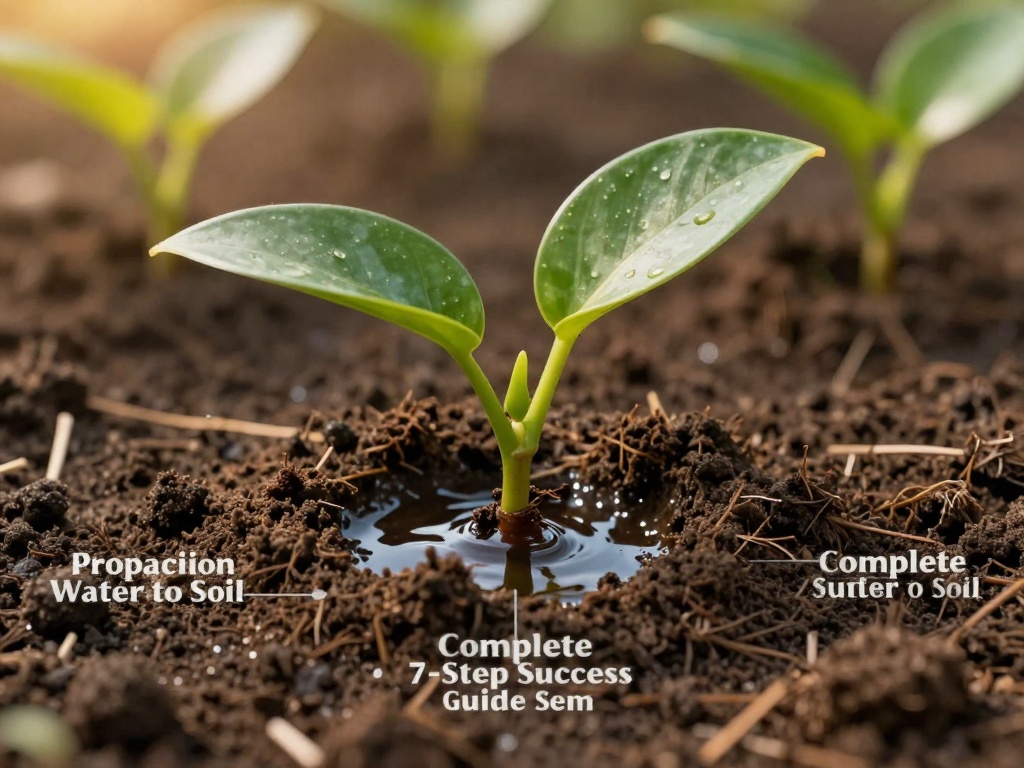
Pothos Propagation Water to Soil: Complete 7-Step Success Guide
Transferring your pothos propagation from water to soil is one of the most rewarding moments for any plant parent. After watching those delicate white roots develop in water, the transition to soil can feel intimidating—but it doesn't have to be. With the right technique, you can ensure your propagated pothos thrives in its new home without shock or failure.
Whether you're expanding your plant collection or sharing cuttings with friends, understanding the proper water to soil transfer process is essential for long-term success. This guide walks you through every step, from recognizing when your cuttings are ready to providing post-transfer care that promotes rapid growth.
Why Transfer Pothos Cuttings from Water to Soil?
While pothos roots readily in water, this environment lacks essential nutrients and doesn't prepare cuttings for life in soil. Extended time in water can lead to fragile roots that struggle to adapt to denser growing medium. Transferring your pothos propagation to soil at the right moment ensures stronger, more resilient plants that can access nutrients, anchor properly, and grow more vigorously.
Plants grown exclusively in water often develop water roots—thin, adapted structures designed for submerged conditions. These roots function differently than soil roots, which means a gradual or immediate transfer helps your cutting develop the root system it needs for long-term health.
When to Transfer: Timing Matters
Timing your transfer is crucial for pothos propagation water to soil success. Transfer too early, and fragile roots may not survive the shock. Wait too long, and water-adapted roots may struggle to make the transition.
Signs Your Cuttings Are Ready
- Roots are at least 3-4 inches long
- Multiple secondary roots have developed from the main root
- Roots appear white or cream-colored and firm (not mushy)
- At least 2-3 healthy leaves are present on the cutting
Best Season for Transfer
Spring and early summer provide optimal conditions for transferring your pothos propagation. During these growing seasons, plants are actively producing new growth and can recover from transplant stress more quickly. Avoid transferring during winter months when growth slows and plants are more susceptible to shock.
The 7-Step Transfer Process
Step 1: Prepare Your Supplies
Before beginning the transfer, gather everything you need. You'll require a pot with drainage holes (4-6 inches works well for single cuttings), quality potting mix designed for houseplants, a watering can, and clean scissors or pruning shears. Having supplies ready prevents unnecessary delays that could stress your cutting.
Step 2: Choose the Right Soil Mix
Pothos thrives in well-draining, aerated soil that retains moisture without becoming waterlogged. A blend of standard potting soil with perlite (approximately 3:1 ratio) provides excellent drainage while maintaining enough moisture for root development. Avoid dense, clay-heavy soils that compact easily and restrict root growth.
Step 3: Prepare the Pot
Fill your container with the soil mixture, leaving approximately one inch of space at the top. Water the soil thoroughly until it drains from the bottom, then allow it to settle. This pre-watering ensures your cutting has immediate access to moisture while establishing itself in its new medium.
Step 4: Remove the Cutting from Water
Gently remove your pothos propagation cutting from its water container. Handle the roots carefully to avoid breaking the delicate white filaments. Rinse the roots briefly to remove any slimy residue that may have accumulated during water propagation.
Step 5: Create a Planting Hole
Use your finger or a small tool to create a hole in the center of the pot's soil. The hole should be deep enough to accommodate all roots without crowding or bending them. A depth of 2-3 inches typically works well for established cuttings.
Step 6: Plant and Backfill
Place your cutting into the prepared hole, spreading the roots naturally. Hold the cutting steady while carefully backfilling soil around the roots. Gently firm the soil with your fingers to eliminate air pockets while ensuring the cutting remains upright.
Step 7: Initial Watering and Placement
Water your newly planted pothos propagation thoroughly, allowing excess water to drain completely. Place the pot in indirect light—direct sunlight can stress the freshly transplanted cutting. Maintain temperatures between 65-85°F for optimal recovery and growth.
Post-Transfer Care for Maximum Success
The first two weeks after transfer are critical for your pothos adaptation. During this period, keep soil consistently moist but not saturated. Check the top inch of soil daily and water when it feels dry to the touch. Avoid fertilizing until you see new growth, which indicates the root system has successfully established.
What to Expect During Recovery
Some leaf wilting or yellowing in the first week is normal as your plant adjusts. However, if wilting persists beyond two weeks or new leaves fail to emerge, your cutting may need additional care. Ensure proper drainage, adequate light, and appropriate watering frequency.
Common Mistakes to Avoid
- Transferring cuttings with underdeveloped roots (under 2 inches)
- Using compacted or poor-draining soil
- Placing newly transferred cuttings in direct sunlight
- Overwatering immediately after transfer
- Using pots without drainage holes
Troubleshooting Transfer Problems
Yellowing Leaves After Transfer
Yellow leaves typically indicate overwatering or root stress. Reduce watering frequency and ensure your pot has adequate drainage. The plant should recover within 1-2 weeks with adjusted care.
Wilting Despite Moist Soil
If your pothos propagation wilts but soil remains damp, root rot may be occurring. Gently remove the cutting and inspect roots—healthy roots should be white and firm. Trim any brown, mushy sections and repot in fresh, dry soil.
No New Growth After 3-4 Weeks
Lack of new growth suggests the root system hasn't fully adapted. Ensure your cutting receives indirect bright light, maintain consistent moisture, and consider misting leaves to reduce transplant stress.
Benefits of Successful Water to Soil Transfer
When done correctly, transferring your pothos propagation from water to soil results in a hardy plant that grows faster and larger than water-grown specimens. Soil provides stability, consistent nutrients, and a more natural environment for healthy root development. Your pothos will develop the robust root system needed to support vining growth that can span several feet.
Understanding this process empowers you to propagate pothos confidently and expand your indoor garden collection year after year. Each successful transfer builds your skills and confidence as a plant parent.
FAQ
How long can pothos cuttings stay in water before transferring to soil?
Pothos cuttings can remain in water for 4-6 weeks while roots develop. However, transferring them to soil once roots reach 3-4 inches provides the best transition success. Prolonged water storage beyond two months often results in weaker plants that struggle with soil adaptation.
Can I transfer pothos directly from water to soil?
Yes, direct transfer from water to soil works well when roots are well-developed. Unlike some plants that require gradual过渡, pothos handles immediate transfer successfully. The key is ensuring roots are at least 3 inches long with multiple secondary branches visible.
Why are my pothos roots turning brown in water before transfer?
Brown roots in water typically indicate stagnant water or bacterial buildup. Change the water every 1-2 weeks and rinse roots during water propagation to prevent this issue. Healthy pothos roots should remain white or cream-colored throughout the propagation process.
Should I fertilize pothos immediately after transferring from water to soil?
Avoid fertilizing for the first 4-6 weeks after transfer. The root system needs time to establish in soil, and premature fertilization can burn delicate new roots. Once you see new growth emerging, begin with a diluted, balanced liquid fertilizer applied monthly during growing season.
No comments