2024 Guide: Drip Irrigation Setup for Small Vegetable Farms (7 Proven Steps)
2024 Guide: Drip Irrigation Setup for Small Vegetable Farms (7 Proven Steps)
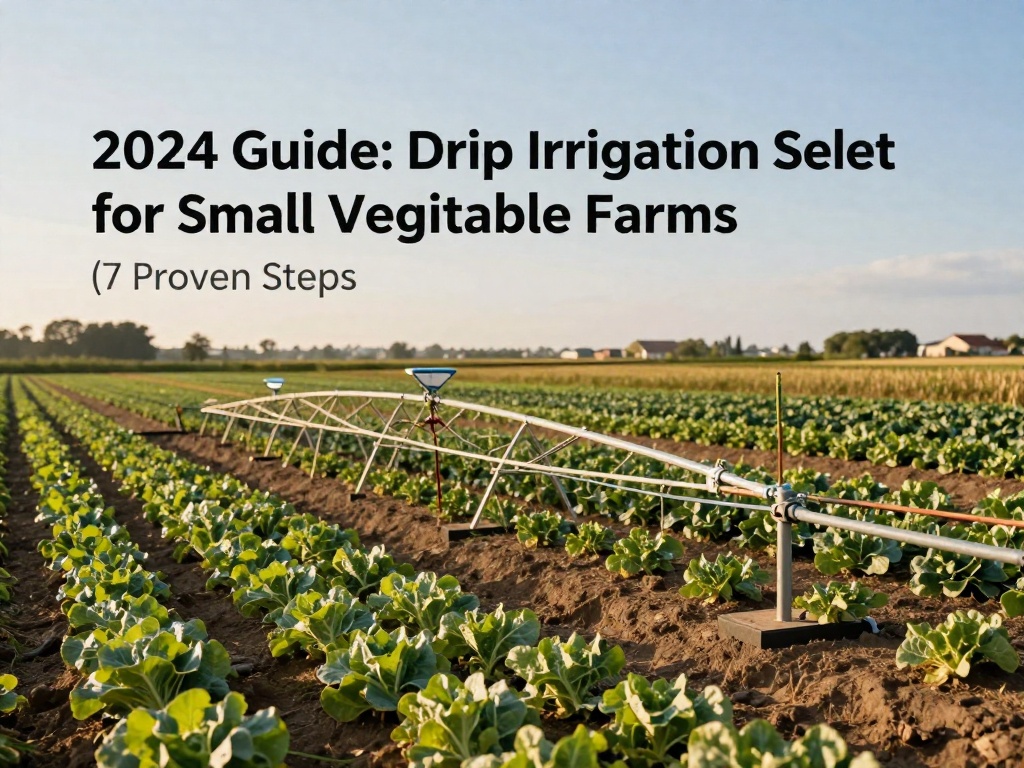
Small-scale vegetable growers lose up to 40% of their water to inefficient sprinkler or surface irrigation methods, per the USDA Natural Resources Conservation Service (NRCS). A well-planned drip irrigation setup for small vegetable farms solves this issue by delivering water directly to plant root zones, cutting water waste by up to 60% while boosting crop health. This step-by-step guide walks you through planning, building, and maintaining a system that fits your farm’s unique size and crop needs.
Why Drip Irrigation Works for Small Vegetable Farms
Lower Input Costs for Tight Small Farm Budgets
Most small farm operators work with tight annual budgets, making low-cost, high-return investments non-negotiable. Drip systems cost 50% less to operate annually than traditional sprinkler systems, per NRCS data, as they require less energy to pump water and less fertilizer. Drip systems can also integrate fertigation to deliver nutrients directly to root zones, eliminating waste from over-fertilization.
Reduced Weed and Disease Pressure
Unlike sprinkler systems that wet entire field surfaces, drip irrigation only moistens the root zone of your vegetable crops. This limits the water available for weed germination, cutting your weeding labor by up to 30% over a growing season. Drier leaf surfaces also reduce the risk of fungal diseases like blight and powdery mildew, which can wipe out 20% or more of a vegetable crop if left unmanaged.
7 Proven Steps to Build Your Drip Irrigation System
1. Map Your Farm Layout and Verify Your Water Source
First, measure your growing beds to calculate the total length of line you’ll need, noting any slopes or obstacles that could impact water flow. Confirm your water source can deliver enough pressure and volume: most drip systems require 10-25 PSI, so test your well or municipal water supply before purchasing parts. For most small 1-5 acre vegetable farms, a standard residential water supply is sufficient to power a drip system.
2. Gather All Core System Components
For a small vegetable farm, you only need affordable, easy-to-source parts: a backflow preventer, 120-mesh filter, pressure regulator, main supply line, distribution tubing, and drip emitters or tape. Drip tape is the most popular option for annual vegetable crops, costing as little as $0.10 per foot, per farm supply retailer Johnny’s Selected Seeds.
3. Install Backflow and Filtration First
Start by connecting the backflow preventer to your water source to stop contaminated irrigation water from flowing back into your potable water supply, a legal requirement in most U.S. counties. Next, add the 120-mesh screen filter to prevent sediment from clogging your drip emitters, the most common issue new drip system owners face.
4. Add Your Pressure Regulator
Connect the pressure regulator to the filter to bring your water line’s pressure down to the 10-25 PSI range required for drip emitters. Too much pressure will cause emitters to burst or deliver uneven water flow across your beds, leading to dry spots in crops that reduce yields.
5. Lay and Secure Your Tubing and Drip Tape
Run your main supply line down the center of your farm, then connect ½-inch distribution tubing to reach each individual growing bed. Lay drip tape 1-2 inches from the base of your vegetable rows, securing it with landscape stakes to prevent shifting from wind or farm equipment.
6. Test Your System for Leaks and Clogs
Turn on your water supply and walk every bed to check for leaks, broken emitters, or dry spots. Flush the system thoroughly after the first test to remove any remaining debris that could cause clogs later in the season. Mark any damaged sections of tape for quick replacement before you plant your crops.
7. Set an Automated Watering Schedule
Add a $20 basic timer to your system to automate watering, delivering 1-2 inches of water per week for most vegetable crops, adjusting for weekly rainfall. Most leafy greens and root crops require shorter, more frequent watering, while tomatoes and squash thrive with deep, infrequent watering that encourages strong root growth.
Annual Maintenance to Extend Your System’s Lifespan
A properly maintained drip system can last 5-10 years, saving you thousands in replacement costs over its lifespan. At the end of each growing season, flush your entire system with a 10% bleach solution to kill algae and remove mineral buildup that clogs emitters. Store all tubing and tape in a cool, dry area away from direct sunlight to prevent UV damage. Drip tape for annual crops can be reused for 2-3 growing seasons if it remains free of cracks and clogs.
Frequently Asked Questions
How much does a drip irrigation setup for a 1-acre small vegetable farm cost?
A basic 1-acre drip system costs between $1,500 and $3,000 to install, with most small farm operators recouping that cost in 1-2 years from water and labor savings. Higher-end automated systems with smart soil moisture sensors can cost up to $5,000, but most small-scale growers only need a basic timer-equipped setup to see major benefits.
Can I install drip irrigation on sloped farm land?
Yes, you can install drip systems on sloped land by adding small secondary pressure regulators every 100 feet along the slope to offset elevation-related pressure changes. Use pressure-compensating emitters to ensure even water flow across all parts of your sloped beds, so crops at the bottom of the slope don’t get more water than those at the top.
What’s the difference between drip emitters and drip tape for vegetable farms?
Drip emitters are small, durable individual devices that deliver a set amount of water per hour, ideal for perennial vegetable crops like asparagus or berry bushes. Drip tape is a thin, flexible tubing with pre-spaced emitters, perfect for annual vegetable crops that require new line installation each growing season to support crop rotation schedules.
No comments