Potatoes Raised Bed Step by Step: Complete 2026 Growing Guide
Potatoes Raised Bed Step by Step: Complete 2026 Growing Guide
Growing potatoes raised bed step by step is one of the most rewarding techniques for home gardeners. This method delivers significantly higher yields compared to traditional ground planting while making harvest remarkably easier. Whether you have limited garden space or poor soil quality, raised beds offer the perfect solution for cultivating delicious, homegrown potatoes. In this comprehensive guide, you will learn exactly how to succeed with potatoes in raised beds, from preparation to harvest.
Why Choose Raised Beds for Growing Potatoes?
Raised bed gardening transforms potato cultivation in several important ways. First, these beds provide superior drainage that prevents waterlogging and common potato diseases like blight. Second, the controlled environment allows you to create optimal soil conditions specifically for potato growth. Third, hilling becomes effortless when you can simply add fresh soil or mulch around developing plants.
Research from agricultural universities shows that raised bed potato cultivation can increase yields by up to 40% compared to traditional row planting. The contained environment also reduces weed competition and makes pest management more straightforward. For urban gardeners and those with challenging soil conditions, raised beds represent the ideal solution.
Step 1: Selecting the Right Raised Bed
Dimensions That Work Best
For growing potatoes successfully, your raised bed should be at least 12 inches deep. However, 18 to 24 inches provides even better results because potatoes develop extensively underground. The width should not exceed 4 feet, allowing you to reach all plants without stepping into the bed. Length is flexible based on your available space, but 4 to 8 feet works well for most gardeners.
Material Options
Untreated cedar or redwood naturally resists rot and lasts several seasons. Galvanized metal beds offer modern aesthetics and exceptional durability. Concrete blocks provide permanent solutions, while composite materials offer longevity without the weight. Avoid pressure-treated lumber for organic gardening as chemicals may leach into the soil.
Step 2: Preparing Your Soil Mix
Creating the ideal growing medium is crucial when planting potatoes raised bed step by step. Potatoes thrive in loose, well-draining soil with plenty of organic matter. Mix equal parts of quality compost, garden soil, and coconut coir or peat moss. Add a handful of balanced organic fertilizer per square foot to provide essential nutrients.
The ideal pH range for potatoes is 5.8 to 6.5, which is slightly acidic. Test your soil mix before planting and adjust accordingly using sulfur to lower pH or lime to raise it. This slightly acidic environment promotes healthy tuber development and reduces scab disease occurrence.
Step 3: Chitting Your Seed Potatoes
Before planting, prepare your seed potatoes through a process called chitting. This technique encourages sprouting and leads to earlier, more vigorous growth. Place seed potatoes in a single layer in an egg carton or tray with the eyes facing upward. Store them in a cool, bright location for 2 to 4 weeks until green sprouts develop.
Small potatoes can be planted whole, but cut larger ones into pieces with at least 2 to 3 eyes each. Allow cut surfaces to cure for 24 to 48 hours in dry air before planting to prevent rotting. This step significantly improves germination rates and overall plant vigor.
Step 4: Planting Process
Timing Your Planting
Plant potatoes 2 to 4 weeks before your last expected frost date. Soil temperature should reach at least 45°F (7°C) for proper germination. In warmer climates, you can plant in late winter for a spring harvest, while cooler regions typically plant in early spring.
Proper Planting Technique
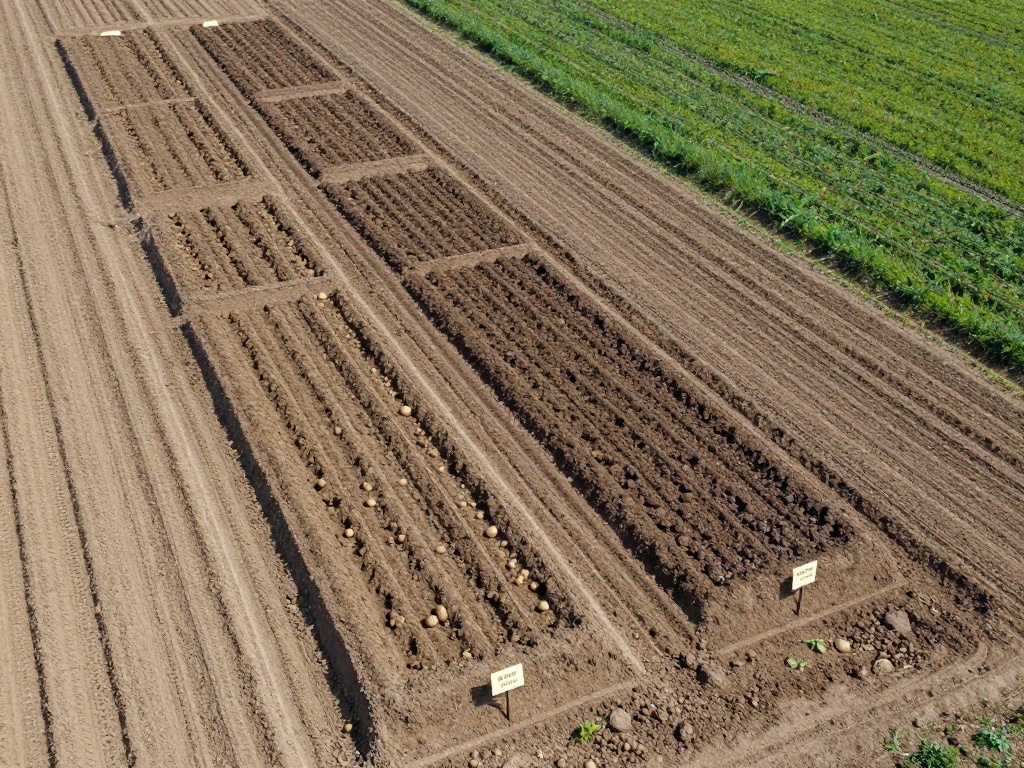
Dig trenches or holes 4 inches deep in your prepared raised bed. Space seed potato pieces 12 inches apart in rows, with rows 18 to 24 inches apart. Place each piece with sprouts facing upward, then cover lightly with soil. Water thoroughly after planting to settle the soil around the tubers.
The step by step process for potatoes in raised beds requires gentle handling during planting. Avoid compacting the soil by not walking on the bed. Instead, work from the edges or use boards to distribute your weight evenly while planting.
Step 5: Mounding and Earthing Up
As potato plants grow, consistently mound soil around the stems to protect developing tubers from sunlight. Begin hilling when plants reach 6 to 8 inches tall, burying the lower stems and leaving only the top leaves exposed. This process prevents greening, which makes potatoes toxic and bitter.
Continue mounding every 2 to 3 weeks throughout the growing season. In raised beds, you can add fresh soil mix, straw, or organic mulch as your hilling material. Maintain at least 6 inches of soil coverage over developing tubers at all times for optimal growth.
Step 6: Ongoing Care and Maintenance
Watering Requirements
Potatoes need consistent moisture, especially during tuber formation and enlargement. Provide 1 to 2 inches of water weekly through rainfall or irrigation. Uneven watering causes cracked, hollow, or malformed tubers. Mulching with straw helps retain moisture and regulate soil temperature throughout the season.
Feeding Schedule
Side-dress plants with compost or balanced organic fertilizer every 3 to 4 weeks during the growing season. Avoid high-nitrogen fertilizers once plants begin flowering, as excess nitrogen promotes foliage growth at the expense of tuber development. A potassium-rich fertilizer during tuber formation improves yield and quality.
Common Problems and Solutions
Understanding potential issues helps you address them quickly when growing potatoes raised bed step by step. Potato blight causes brown spots on leaves and can destroy crops within weeks. Prevent this by ensuring good air circulation, watering at soil level, and applying copper-based organic fungicides preventatively.
Colorado potato beetles can defoliate plants rapidly. Inspect plants regularly and remove beetles, larvae, and egg masses by hand. Companion planting with marigolds, basil, or beans provides natural pest deterrence. For severe infestations, neem oil or Bacillus thuringiensis offers organic control options.
Harvesting Your Raised Bed Potatoes
New potatoes can be harvested gently when plants flower, typically 60 to 70 days after planting. These young potatoes are tender and perfect for immediate consumption. For storage potatoes, wait until foliage dies back completely, usually 2 to 4 weeks after flowering.
To harvest, carefully remove soil from around the plants using your hands or a garden fork. Work from the edges of your raised bed inward to avoid damaging tubers. Allow harvested potatoes to cure in a dry, shaded location for 1 to 2 weeks before storing. Proper curing toughens the skin and extends storage life significantly.
Storing Your Potato Harvest
Store cured potatoes in a cool, dark location between 40°F and 50°F (4°C to 10°C). Higher temperatures cause sprouting, while light exposure turns tubers green and toxic. Avoid storing potatoes near apples, onions, or other produce that emits ethylene gas. Properly stored potatoes can last 4 to 6 months or longer.
FAQ
What is the best depth for a raised bed when growing potatoes?
The ideal raised bed depth for potatoes is 18 to 24 inches. This depth allows adequate soil volume for tuber development while making hilling and harvesting manageable. Shallower beds of 12 inches can work but may limit your yield potential.
How many potato plants can I grow in a 4x8 raised bed?
In a 4x8 raised bed, you can comfortably grow approximately 20 to 24 potato plants. Space them 12 inches apart in rows 18 inches apart, which gives you 4 rows across the 4-foot width. This spacing ensures adequate room for both foliage growth and tuber development.
Do potatoes grow well in raised beds compared to the ground?
Yes, potatoes typically grow exceptionally well in raised beds. The loose, well-draining soil promotes healthy root and tuber development while reducing disease pressure. Raised beds also make hilling easier and harvesting cleaner. Yields often exceed those from traditional in-ground planting when proper soil preparation is followed.
No comments