Tomato Blossom End Rot Prevention with Mulch: 6 Proven Solutions
Tomato Blossom End Rot Prevention with Mulch: 6 Proven Solutions
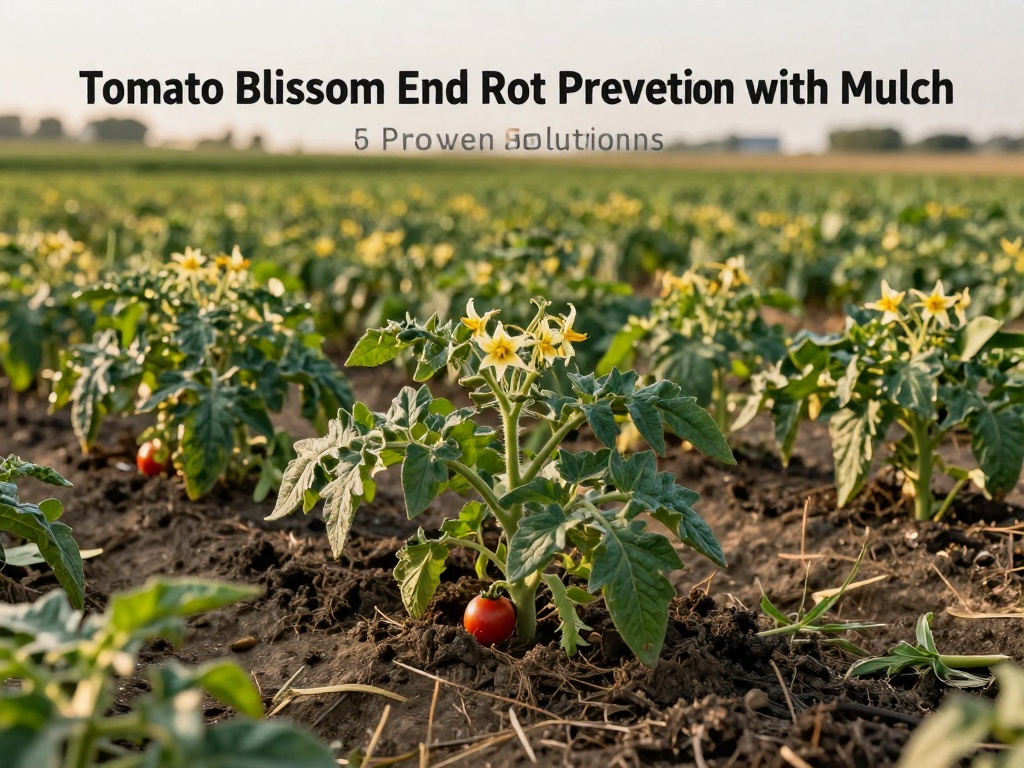
Tomato blossom end rot is one of the most frustrating problems home gardeners face when growing tomatoes. Those dark, sunken spots appearing on the bottom of your beautiful fruits can devastate an entire harvest in just days. The good news? Tomato blossom end rot prevention with mulch is one of the most effective and natural solutions available to gardeners. By understanding how mulch helps regulate soil conditions, you can protect your plants and enjoy healthy, blemish-free tomatoes all season long.
Blossom end rot occurs when calcium transport to the developing fruit is disrupted, typically due to inconsistent watering and fluctuating soil moisture. While calcium deficiency is often blamed, the real issue usually stems from irregular water availability that prevents plants from absorbing calcium properly. This is exactly where proper mulching becomes your greatest ally in the garden.
Understanding Blossom End Rot: The Root Cause
Before diving into solutions, it's essential to understand why blossom end rot develops in the first place. This knowledge will help you implement the most effective prevention strategies using mulch.
Why Calcium Transport Fails
Calcium moves through tomato plants via water transport. When soil moisture fluctuates between dry and wet conditions, the plant cannot maintain steady calcium delivery to the developing fruit. Even if your soil contains adequate calcium, inconsistent watering creates gaps in nutrient uptake that result in blossom end rot.
Environmental Factors That Worsen the Problem
Several conditions accelerate blossom end rot development. Excessive nitrogen fertilization promotes rapid leaf growth at the expense of fruit development. Root damage from cultivation too close to plants impairs water and nutrient absorption. Heavy clay soils that retain water then dry out completely create the perfect conditions for this disorder to flourish.
How Mulch Prevents Tomato Blossom End Rot
Mulch acts as a protective barrier between your tomato plants and environmental stresses. When applied correctly, mulch creates stable soil conditions that support consistent water and nutrient uptake throughout the growing season.
Moisture Regulation
Mulch dramatically reduces soil moisture fluctuation by slowing evaporation during hot weather. It also prevents waterlogging during heavy rains by improving soil structure. This consistency ensures calcium remains available and transportable to developing fruits exactly when they need it most.
Soil Temperature Control
Extreme soil temperatures stress tomato roots and impair their ability to absorb water and nutrients. Organic mulches like straw and wood chips insulate the soil, keeping root zones cooler during summer heat and warmer during unexpected cold snaps. Stable temperatures mean consistent nutrient uptake and healthier fruit development.
Soil Structure Improvement
As organic mulches decompose, they add organic matter to your soil. This improves soil tilth, drainage, and water-holding capacity simultaneously. Earthworms and beneficial microorganisms thrive in mulched soils, creating a healthy ecosystem where tomato roots can access water and nutrients efficiently.
6 Best Mulch Types for Tomato Blossom End Rot Prevention
Not all mulches perform equally when it comes to preventing blossom end rot. Here are the most effective options ranked by their ability to maintain consistent soil conditions.
1. Straw Mulch
Straw is arguably the best mulch for tomato blossom end rot prevention. It decomposes slowly, maintains consistent soil moisture exceptionally well, and won't introduce weed seeds into your garden. Apply a 4-6 inch layer around plants, keeping it 2 inches away from stems to prevent rot. Straw also reflects sunlight, keeping fruits cooler and reducing heat stress during peak summer months.
2. Plastic Mulch (Red or Black)
Plastic mulches warm soil faster in spring and maintain consistent temperatures throughout the growing season. Red plastic mulch reflects specific light wavelengths that promote fruit production while suppressing blossom end rot. Install before transplanting and poke holes for watering. However, plastic doesn't improve soil structure and requires irrigation systems underneath for best results.
3. Shredded Wood/Bark Chips
Wood chip mulches provide excellent moisture retention and temperature insulation. They decompose slowly, lasting an entire growing season with minimal maintenance. Use aged or partially decomposed chips to avoid nitrogen tie-up as fresh wood decomposes. Apply 3-4 inches deep around plants for optimal protection.
4. Grass Clippings
Fresh grass clippings are highly effective when applied correctly. Spread in thin layers (1-2 inches) and allow each layer to dry before adding more. Wet grass clippings can mat together and create anaerobic conditions. Grass clippings add nitrogen to soil as they decompose, supporting healthy plant growth without excessive leaf development.
5. Leaf Mold
Composted leaf mold offers outstanding water retention and soil improvement properties. It mimics natural forest floor conditions where tomatoes evolved. Apply 3-4 inches around plants for excellent moisture regulation and beneficial microorganism support. Leaf mold is particularly valuable in clay soils that tend to crack and dry unevenly.
6. Compost Mulch
Finished compost serves double duty as mulch and soil amendment. It retains moisture exceptionally well while slowly releasing nutrients to plant roots. Apply 2-3 inches around tomatoes, keeping it slightly away from stems. Compost introduces beneficial microorganisms that improve soil health and nutrient availability, addressing multiple factors that contribute to blossom end rot.
Proper Mulch Application Techniques
Even the best mulch won't prevent blossom end rot if applied incorrectly. Follow these guidelines for maximum effectiveness in protecting your tomato plants.
When to Apply Mulch
Apply mulch 2-3 weeks after transplanting when soil has warmed sufficiently. Transplanting into cold, mulched soil delays root development and can actually increase blossom end rot risk. Wait until plants are established and actively growing, then apply mulch around (not over) each plant.
How Much Mulch to Use
Organic mulches should be applied 3-6 inches deep, depending on the material's density. Straw needs 4-6 inches, while denser materials like wood chips need only 3-4 inches. Too little mulch provides inadequate protection; too much can smother roots and retain excess moisture. The goal is consistent coverage without burial of plant stems.
Maintaining Your Mulch
Check mulch depth monthly and replenish as needed, especially after heavy rains that may displace material. Work mulch away from stems periodically to check for pests or disease development underneath. At season's end, either work remaining organic mulch into soil or add a fresh layer for winter protection.
Additional Strategies for Complete Blossom End Rot Prevention
While mulch addresses the primary cause of blossom end rot, combining it with these complementary practices provides comprehensive protection for your tomato harvest.
Consistent Watering Schedule
Water tomatoes deeply and regularly, aiming for 1-2 inches per week including rainfall. Install drip irrigation or soaker hoses for consistent moisture delivery directly to root zones. Watering deeply but infrequently encourages deeper root development, making plants more resilient to temporary dry periods.
Calcium Supplementation
If your soil tests reveal calcium deficiency, apply calcium supplements before mulching. Gypsum (calcium sulfate) adds calcium without raising soil pH significantly. Crushed eggshells release calcium slowly and also improve soil structure. Water in calcium supplements thoroughly after application.
Avoiding Excessive Nitrogen
High nitrogen fertilizers promote rapid foliage growth at the expense of fruit development. Use balanced fertilizers or those slightly higher in phosphorus and potassium during flowering and fruit set. Once flowering begins, switch to lower-nitrogen formulations that support fruit development rather than leafy growth.
Common Mulching Mistakes to Avoid
Understanding what not to do is equally important for successful blossom end rot prevention.
Mulching Too Early
Applying mulch to cold, wet soil in early spring prevents soil warming and can delay plant development. Wait until soil temperature reaches at least 60°F (15°C) at 4-inch depth before applying mulch around tomatoes.
Volcano Mulching
Piling mulch directly against tomato stems creates constant moisture contact that promotes rot and provides shelter for pests. Always leave a 2-inch gap between mulch and plant stems. Think of mulch as a donut around plants, not a volcano over them.
Using Inappropriate Materials
Avoid grass clippings treated with herbicides, pressure-treated wood chips, or materials from plants known to be allelopathic. Cedar and cypress mulches decompose slowly but may contain compounds that inhibit some plant growth. Stick to clean, untreated organic materials specifically marketed for garden use.
Seasonal Mulch Management for Tomatoes
Your mulching strategy should evolve throughout the growing season to address changing plant needs and environmental conditions.
Early Season Approach
Focus on soil warming initially by applying thinner mulch layers or using darker materials that absorb heat. As temperatures climb, add additional mulch for cooling. The goal is warming soil in spring while preparing for summer heat protection.
Mid-Season Maintenance
Mid-summer demands maximum mulch depth to combat heat stress and maintain consistent moisture. Check irrigation systems buried under mulch to ensure even water distribution. Add fresh material as decomposition reduces mulch depth below 3 inches.
Late Season Considerations
As temperatures cool in fall, reduce mulch slightly to allow soil to warm during the day. Continue watering consistently even as fruit production slows. Remove any mulch that's become matted or saturated to prevent disease harboring over winter.
FAQ
Can mulch alone prevent blossom end rot on tomatoes?
While mulch significantly reduces blossom end rot by maintaining consistent soil moisture, combining mulching with proper watering practices and balanced fertilization provides the most complete prevention. Mulch addresses the primary cause of calcium transport disruption, but overall plant health management strengthens prevention efforts.
What thickness of mulch prevents blossom end rot most effectively?
Organic mulches should be applied 3-6 inches deep depending on material density. Straw requires 4-6 inches, while denser materials like wood chips need 3-4 inches. The critical factor is maintaining consistent coverage without burying plant stems, as gaps in mulch coverage create inconsistent soil conditions that promote blossom end rot.
Does red plastic mulch really prevent blossom end rot better than other types?
How soon after transplanting should I apply mulch around tomatoes?
Wait 2-3 weeks after transplanting when soil has warmed to at least 60°F (15°C) and plants show active new growth. Mulching cold soil delays root establishment and can actually increase blossom end rot risk by keeping roots too cool for optimal function. Establish plants first, then apply mulch as protective insulation.
Will adding calcium to soil without mulch fix blossom end rot?
Calcium amendments alone rarely resolve blossom end rot because the problem typically involves calcium transport, not absolute calcium deficiency. Without consistent soil moisture from mulching and proper watering, calcium cannot move from soil to plant tissue effectively. Combine calcium supplementation with mulching for complete prevention.
No comments