Spring Seed Starting Indoors: 7 Proven Tips for Success
Spring Seed Starting Indoors: 7 Proven Tips for Success
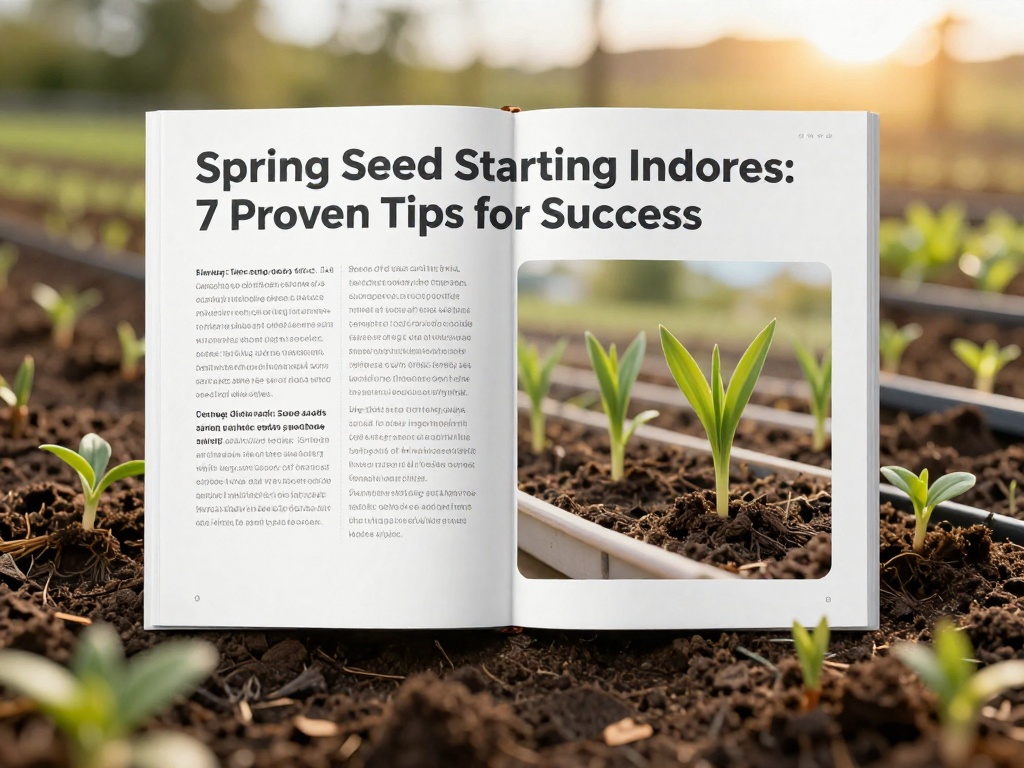
Starting seeds indoors during late winter or early spring gives your plants a crucial head start on the growing season. This spring seed starting indoors guide walks you through everything you need to grow robust, healthy seedlings that will thrive once transplanted into your garden.
Why Start Seeds Indoors?
Starting seeds indoors extends your growing season by several weeks, which is especially valuable in regions with short summers. You gain greater control over germination conditions and can grow unique heirloom varieties not available as transplants at local nurseries.
Additionally, seedling costs are a fraction of buying mature plants. One packet of seeds produces dozens of plants, making this approach both economical and rewarding for gardeners seeking self-sufficiency.
Benefits at a Glance
- Earlier harvest dates for vegetables and herbs
- Access to specialty and heirloom varieties
- Significant cost savings compared to store-bought transplants
- Full control over growing conditions and organic practices
Essential Supplies for Indoor Seed Starting
Gathering quality supplies before planting ensures smoother germination and healthier seedlings. Invest in these fundamentals for the best results.
Seed Starting Mix
Use a sterile, lightweight seed starting mix specifically formulated for germination. Regular garden soil compacts too easily and may harbor disease organisms that attack emerging seedlings. The ideal mix retains moisture while providing excellent drainage and aeration.
Containers and Trays
Seed starting trays with individual cells or small pots work excellently for most seeds. Clean, recycled containers from previous seasons work too, provided they have adequate drainage holes. Cell trays make transplanting easier by containing root systems intact during transfer.
Heat Mats and Thermometers
Most seeds germinate best when soil temperatures range between 65°F and 75°F. Heat mats placed beneath seed trays provide consistent bottom warmth that accelerates germination dramatically. A soil thermometer helps monitor conditions accurately throughout the germination period.
Timing Your Spring Seed Starting
Calculating the correct start date prevents leggy, overgrown seedlings and ensures plants are ready for transplanting at the optimal outdoor planting time.
Counting Backward from Transplant Date
First, determine your area's last expected frost date. Then subtract the number of weeks each crop requires indoors. Tomatoes typically need 6-8 weeks, peppers 8-10 weeks, and cucumbers or squash only 3-4 weeks before transplanting.
Cool-Season vs. Warm-Season Crops
Cool-season vegetables like broccoli, cabbage, and lettuce tolerate cooler temperatures and can be started earlier. Warm-season crops including tomatoes, peppers, and squash require both warmer soil and air temperatures before moving outside.
The Step-by-Step Seed Planting Process
Proper planting technique directly impacts germination rates and seedling vigor. Follow these steps carefully for optimal results.
Step 1: Moisten the Mix
Before filling containers, moisten your seed starting mix thoroughly. The ideal consistency feels like a wrung-out sponge—damp but not dripping wet. Adding water before planting prevents dry pockets that can desiccate emerging roots.
Step 2: Fill and Firm
Fill each cell or container with moistened mix, then gently firm the surface without compressing heavily. Leave approximately 1/4 inch of space below the container rim to accommodate watering.
Step 3: Plant at the Correct Depth
General rule states plant seeds at a depth equal to twice their diameter. Small seeds like lettuce barely need covering, while larger seeds like beans should be planted 1 inch deep. Check seed packets for specific depth recommendations.
Step 4: Label Everything
Immediately label each variety with plant name and planting date. Permanent markers on plastic labels or popsicle sticks ensure legibility throughout the growing period. Grouping trays by variety simplifies later management.
Providing Proper Light for Seedlings
Light is perhaps the most critical factor in producing stocky, healthy seedlings. Insufficient light causes leggy, weak growth that struggles to transplant successfully.
Natural Light Considerations
South-facing windows provide the brightest exposure but still often fall short of ideal light levels. Rotate trays regularly to prevent seedlings from leaning toward the light source. Even the sunniest windows rarely provide enough light for optimal growth during late winter months.
Supplemental Grow Lights
Fluorescent or LED grow lights positioned 2-4 inches above seedlings deliver consistent, intense illumination. Run lights 14-16 hours daily for best results. Adjust light height as seedlings grow to maintain the proper distance.
Quality matters when selecting grow lights. Full-spectrum lights designed for plant growth produce the balanced wavelengths seedlings need for strong, even development without becoming tall and spindly.
Watering and Fertilizing Young Seedlings
Proper moisture management prevents the two most common seedling problems: damping-off disease and root rot from overwatering.
Watering Techniques
Water from below by setting trays in a shallow water container. This encourages deep root growth while keeping foliage dry, which reduces fungal disease risk. Allow containers to absorb water until the soil surface glistens, then drain excess moisture thoroughly.
When to Begin Fertilizing
Seedlings don't require nutrients until they've developed their first true leaves, typically 2-3 weeks after germination. At that point, apply a diluted balanced fertilizer at half the recommended strength every 7-10 days. Liquid kelp or fish emulsion provide excellent gentle nutrition for young plants.
Hardening Off: Preparing Seedlings for Outdoors
Hardening off gradually acclimates indoor-grown seedlings to outdoor conditions. Skipping this crucial step causes transplant shock, stunted growth, or even plant death.
The Two-Week Transition Process
Begin 10-14 days before transplanting by placing seedlings outside in a sheltered, shaded location for 1-2 hours. Gradually increase exposure time and direct sunlight over the following days. Bring plants indoors each night unless temperatures remain above 50°F.
What to Watch For
Minor wilting is normal during early hardening off. Watch for persistent wilting, leaf discoloration, or sunscald, which indicate you're transitioning too quickly. Successful hardening produces plants with thick stems and deeper green coloring.
Common Mistakes to Avoid
Learning from typical errors saves time, seeds, and frustration during the seed starting process.
- Starting too early: Oversized seedlings become root-bound and struggle to adapt to transplanting.
- Insufficient light: Leggy seedlings develop weak stems vulnerable to breaking.
- Overwatering: Soggy conditions promote fungal diseases that can wipe out entire batches.
- Skipping hardening off: Indoor-grown plants need gradual outdoor adaptation to survive.
FAQ: Spring Seed Starting Indoors
When should I start seeds indoors for spring planting?
Start seeds indoors 6-10 weeks before your last expected frost date, depending on the crop. Cool-season crops like broccoli need about 8 weeks, while tomatoes thrive with 6-8 weeks. Check the seed packet for specific timing recommendations for each variety.
Do I need grow lights to start seeds indoors?
While natural light from a south-facing window can work, grow lights significantly improve results by providing consistent, adequate light intensity. Without sufficient light, seedlings become leggy and weak. LED or fluorescent grow lights positioned 2-4 inches above plants for 14-16 hours daily produces the best outcomes.
How often should I water seedlings?
Water when the soil surface feels dry to the touch, typically every 2-3 days depending on conditions. The goal is consistent moisture without saturation. Water from below by placing trays in a shallow water container, allowing roots to absorb moisture through drainage holes. This method also encourages deeper root development.
When can I transplant seedlings into my garden?
Transplant after all danger of frost has passed for warm-season crops, or 2-4 weeks before the last frost for cool-season varieties. Seedlings should have 2-3 sets of true leaves and be 3-4 inches tall. Always harden off plants gradually over 10-14 days before permanent outdoor transplanting.
No comments