Roses Seed Starting Step by Step: 2026 Beginner's Guide
Roses Seed Starting Step by Step: 2026 Beginner's Guide
Starting roses from seeds offers a rewarding journey for gardeners seeking to expand their collection with unique varieties. While growing roses from seeds requires patience, following the right roses seed starting step by step process can yield stunning results that propagation methods cannot match. This complete guide walks you through every stage of the journey, from selecting quality seeds to transplanting healthy seedlings into your garden.
Understanding Rose Seeds and Their Requirements
Rose seeds differ significantly from many common garden vegetable seeds in their germination requirements. Most rose varieties need a period of cold stratification to break dormancy and trigger sprouting. Understanding these unique needs forms the foundation of successful seed starting for roses.
Rose seeds contain embryonic plants protected by a hard seed coat. This coat naturally prevents premature germination in wild settings, ensuring seeds germinate only after winter passes. Gardeners must replicate these conditions artificially to achieve reliable germination rates when starting seeds indoors.
Why Grow Roses from Seeds?
Growing roses from seeds provides advantages that rooted cuttings cannot offer. Seed-grown roses develop strong taproots that penetrate deep into soil, accessing nutrients and moisture more effectively than surface-rooted cutting plants. Additionally, seeds from hybrid roses may produce plants with unexpected and sometimes superior characteristics, creating unique specimens for your garden.
Step 1: Gathering and Preparing Rose Seeds
The first critical step in the roses seed starting step by step process involves proper seed collection and preparation. Harvest rose hips in late summer or early fall when they turn bright orange, red, or yellow and feel slightly soft to the touch. Remove seeds carefully from the ripe rose hips, cleaning away all fruit pulp completely.
Pulp remnants contain growth inhibitors that can prevent germination. Rinse seeds thoroughly in water, then soak them in a solution of one part hydrogen peroxide to nine parts water for approximately 24 hours. This treatment sanitizes the seeds while helping to break down remaining inhibitors on the seed coat.
Identifying Quality Seeds
Viable rose seeds appear firm with a uniform brown or tan color. Discard any seeds that feel soft, show discoloration, or appear damaged. Healthy seeds should feel slightly heavy when dropped in water—they will sink, while non-viable seeds typically float. This simple floating test helps ensure you work only with seeds most likely to germinate successfully.
Step 2: Cold Stratification Process
Cold stratification mimics natural winter conditions that roses require to break dormancy. This step cannot be skipped if you expect reliable germination rates. There are two primary methods for stratifying rose seeds, each suited to different growing situations.
Refrigerator Method for Stratification
The refrigerator method offers precise control over the stratification process. Place cleaned, dried seeds between layers of barely damp perlite or vermiculite inside a sealed plastic bag or container. Refrigerate at temperatures between 34°F and 40°F (1°C to 4°C) for 10 to 12 weeks, checking periodically to ensure the medium remains slightly moist but never wet.
Check seeds weekly for signs of sprouting. Some varieties may begin showing root tips after six to eight weeks. Once seeds display visible roots or swelling, they are ready for planting. Do not let roots grow excessively long before planting, as fragile root tips can break easily during transplanting.
Outdoor Winter Stratification
For gardeners in USDA zones 4 through 7, outdoor stratification provides a natural alternative. Plant seeds in late fall approximately one-quarter inch deep in prepared seed-starting trays or small containers. Cover with a layer of coarse sand or fine gravel to prevent fungal growth, then place containers in a sheltered location protected from harsh winds and extreme temperature fluctuations.
Containers absorb natural rainfall while experiencing the necessary cold period. Seeds germinate naturally when spring temperatures rise consistently. This method requires less intervention but provides less control over germination timing and success rates.
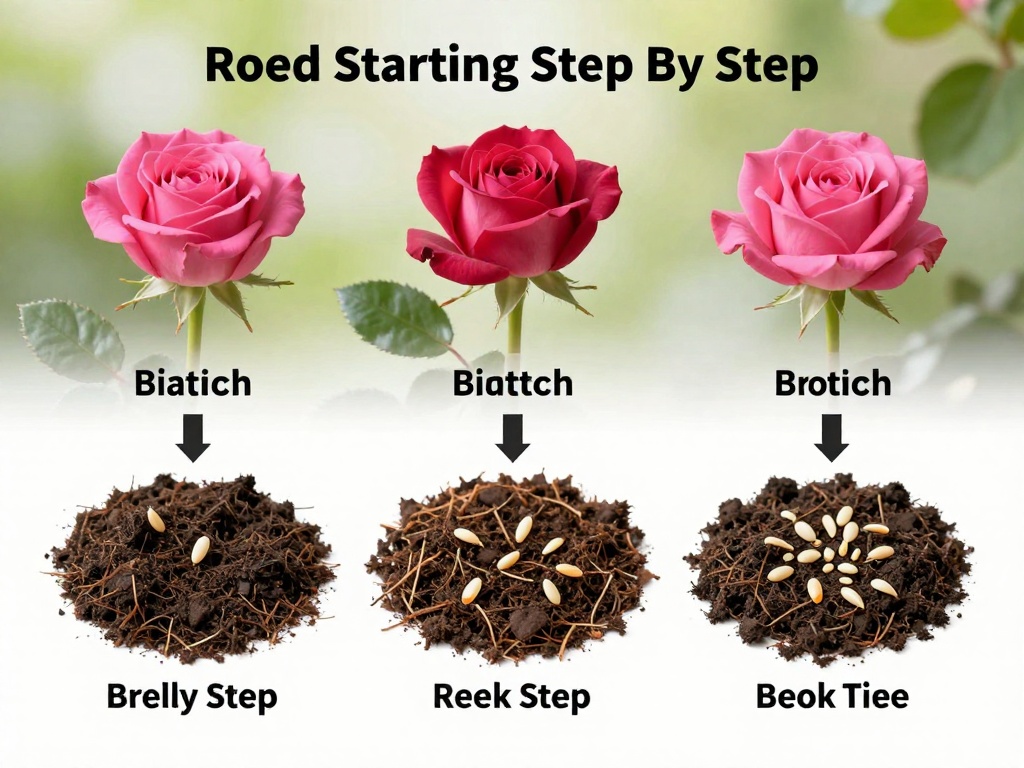
Step 3: Planting Rose Seeds
Proper planting technique significantly impacts germination success. Use sterile seed-starting mix specifically formulated for germination, or create your own blend using equal parts peat moss, perlite, and vermiculite. Avoid garden soil, which may contain pathogens harmful to developing seedlings.
Container Selection and Preparation
Select shallow containers with adequate drainage holes—cell trays or small pots work excellently for starting rose seeds step by step. Fill containers with pre-moistened seed-starting mix, leaving one-quarter inch of space below the container rim. The mix should feel like a wrung-out sponge—damp but not dripping wet.
Plant stratified seeds individually, spacing them at least one inch apart. Cover seeds lightly with no more than one-eighth inch of fine vermiculite or sifted seed-starting mix. Rose seeds require light to germinate optimally, so avoid burying them too deeply. Mist the surface gently to settle seeds in contact with the growing medium.
Creating the Ideal Germination Environment
Rose seeds germinate best at temperatures between 65°F and 70°F (18°C to 21°C). Place planted containers in a location receiving bright, indirect light for 14 to 16 hours daily. Cover containers with clear plastic domes or plastic wrap to maintain humidity until sprouts emerge.
Ventilate covered containers daily for 15 minutes to prevent fungal problems. Once sprouts appear, remove coverings immediately to prevent damping-off disease, a fungal condition that kills young seedlings rapidly. Position grow lights six inches above seedlings, adjusting height as plants grow to maintain optimal light intensity.
Step 4: Caring for Rose Seedlings
Young rose seedlings require consistent attention during their first weeks of life. Proper watering, lighting, and nutrition create strong foundation plants capable of thriving in garden settings. This stage demands the most vigilance in the complete roses seed starting step by step process.
Watering Techniques
Water seedlings from below whenever possible to encourage deep root growth and prevent fungal diseases on foliage. Set containers in a tray of water until the growing medium's surface appears moist, then remove and allow excess water to drain completely. Bottom watering typically needs application every two to three days, depending on temperature and humidity conditions.
Avoid overhead watering of young rose seedlings, as wet foliage invites fungal diseases. If top watering becomes necessary, apply water directly to the soil surface using a fine-spray watering can, taking care to minimize water contact with leaves and stems.
Providing Adequate Light
Rose seedlings demand abundant light to develop into compact, healthy plants. Natural light from a south-facing window supplemented with fluorescent or LED grow lights produces excellent results. Provide 16 to 18 hours of light daily, using a timer to maintain consistent exposure.
Seedlings receiving insufficient light grow tall and leggy, stretching toward light sources with weak, spindly stems. These weak seedlings struggle to transplant successfully and often fail to thrive once planted outdoors. Proper lighting produces stocky seedlings with strong stems and vibrant green foliage.
Step 5: Transplanting Seedlings to Larger Containers
Rose seedlings outgrow their initial containers within four to six weeks of germination. Transplanting into larger pots gives roots room to expand while allowing continued indoor growing until outdoor conditions become suitable. This step bridges the gap between germination containers and permanent garden locations.
When to Transplant
Transplant seedlings when they develop their second or third set of true leaves—the leaves appearing after the initial seed leaves. True leaves indicate the seedling has established a functional root system capable of supporting further growth. Delaying transplant allows roots to become pot-bound, stressed, or stunted.
Choose pots measuring three to four inches in diameter for first transplanting. Use high-quality potting mix enriched with slow-release fertilizer to provide consistent nutrition. Handle seedlings by their leaves rather than delicate stems, as damage to leaves stimulates recovery while stem damage often proves fatal.
Hardening Off Process
Before transplanting seedlings outdoors permanently, gradually acclimate them to outdoor conditions through a process called hardening off. Begin two weeks before your last expected frost date. Place seedlings outside in a sheltered location for one to two hours during the warmest part of the day, then bring them back indoors.
Increase outdoor time by one to two hours daily, gradually exposing seedlings to direct sunlight, wind, and temperature fluctuations. By the end of the hardening-off period, seedlings should tolerate full sun and cool nighttime temperatures. This gradual transition prevents transplant shock and ensures survival in garden settings.
Step 6: Planting Roses in the Garden
Final garden planting represents the culmination of your roses seed starting step by step journey. Select an appropriate location receiving at least six hours of direct sunlight daily with well-draining soil. Prepare planting holes twice as wide as seedling root balls, mixing compost into backfill soil to improve fertility and drainage.
Transplanting Technique
Transplant rose seedlings on an overcast day or during late afternoon to minimize stress from intense sunlight. Remove seedlings carefully from their containers, preserving as much root mass as possible. Plant at the same depth seedlings grew in containers—burying stems too deeply invites stem rot while planting too shallowly dries roots.
Water thoroughly after planting, applying a layer of mulch around (but not touching) the seedling stems. Mulch conserves moisture, suppresses weeds, and moderates soil temperature. Continue watering regularly during the first growing season, allowing soil to dry slightly between waterings to encourage deep root development.
Ongoing Care for Young Roses
Young rose plants benefit from regular feeding beginning four weeks after garden planting. Apply balanced organic fertilizer monthly during the growing season, following package directions for proper dilution. Monitor for common rose pests including aphids, spider mites, and Japanese beetles, addressing problems early with appropriate organic controls.
Resist the temptation to allow newly planted roses to flower during their first season. Pinch off developing buds to redirect energy toward root establishment and foliar growth. Plants that establish strongly in year one produce far more abundant blooms in subsequent seasons, making this short-term sacrifice worthwhile.
Troubleshooting Common Rose Seed Starting Problems
Even experienced gardeners encounter challenges when growing roses from seeds. Understanding common problems and their solutions helps maintain success rates throughout the process. Patience and persistence remain essential virtues for seed-based rose propagation.
Poor Germination Rates
Low germination rates typically indicate inadequate stratification, improper planting depth, or non-viable seeds. Ensure stratification periods match variety requirements—some roses need longer cold periods than others. Verify seeds are planted no deeper than one-eighth inch and that growing medium temperatures remain consistent within the recommended range.
Starting with fresh, viable seeds from reputable suppliers dramatically improves germination success. Seeds stored improperly or past their viability period produce disappointing results. Purchasing seeds from established nurseries ensures proper harvesting, cleaning, and storage procedures were followed.
Damping-Off Prevention
Damping-off disease devastates seedling populations quickly, causing seedlings to collapse at soil level. Prevent this fungal problem by using sterile seed-starting media, providing adequate air circulation, and avoiding overwatering. Applying a thin layer of fine sand or perlite over the soil surface creates a barrier between seedlings and potentially contaminated growing medium.
If damping-off appears, remove affected seedlings immediately along with surrounding growing medium. Improve ventilation and reduce watering frequency for remaining seedlings. Consider starting fresh trays with sanitized materials if losses become severe.
Frequently Asked Questions
How long does it take to grow roses from seeds?
Rose seeds typically germinate within 4 to 8 weeks after stratification ends and planting conditions become favorable. However, seed-grown roses take 2 to 3 years to reach flowering maturity, significantly longer than rose cuttings which may bloom within their first year. Patience rewards gardeners with stronger, more resilient plants.
Do all rose varieties grow from seeds?
Most rose varieties produce seeds, though germination success varies considerably among types. Species roses (wild roses) germinate readily and produce plants true to type. Hybrid roses may produce seeds that grow into plants unlike their parents due to genetic variation. Old garden roses and modern hybrids often present more challenging germination requirements.
What is the best month to start rose seeds?
The ideal timing depends on your stratification method. For refrigerator stratification, begin the cold treatment in December or January for spring planting. Seeds will be ready for planting in containers by February or March. For outdoor stratification, plant seeds in late fall and allow natural winter cold to prepare them for spring germination.
Can I start rose seeds directly outdoors?
Yes, outdoor direct sowing works well in USDA zones 4 through 7 where winters provide sufficient cold stratification naturally. Plant seeds in late fall approximately one-quarter inch deep in prepared beds or containers. Protect planted areas with mulch to prevent erosion and extreme temperature fluctuations during freeze-thaw cycles.
What is the biggest mistake beginners make when starting roses from seeds?
Skipping or shortening the cold stratification period represents the most common error. Many gardeners underestimate the importance of this cold treatment, expecting seeds to germinate quickly like vegetable seeds. Without proper stratification, rose seeds remain dormant and fail to germinate, leading to disappointing results and wasted effort.
How much does rose seed starting cost compared to buying plants?
Rose seed starting costs significantly less than purchasing established plants. A packet containing 20 to 50 rose seeds costs $5 to $15, while single hybrid rose plants often cost $15 to $30 each. Starting seeds also provides the satisfaction of growing plants from scratch and potentially producing unique varieties unavailable through commercial channels.
Why are my rose seedlings turning yellow?
Yellowing leaves indicate nutrient deficiency, overwatering, or improper pH levels. Seedlings depleted of nitrogen display pale yellow coloration, particularly on older lower leaves. Improve nutrition with diluted liquid fertilizer formulated for seedlings. Ensure containers drain properly and allow growing medium to dry adequately between waterings.
Should I use grow lights for rose seedlings?
Yes, grow lights dramatically improve rose seedling quality compared to natural window light alone. Seedlings grown under insufficient light become leggy and weak, struggling to transplant successfully. Provide 16 to 18 hours of light daily using full-spectrum LED or fluorescent grow lights positioned 6 inches above seedling tops for compact, healthy growth.
No comments