Potatoes Seed Starting Easy Method: 2026 Complete Guide
Potatoes Seed Starting Easy Method: 2026 Complete Guide
Starting potatoes from seed is one of the most rewarding techniques for home gardeners seeking fresh, organic spuds right from their backyard. This comprehensive 2026 guide reveals the easiest method for potatoes seed starting that works perfectly for beginners and experienced growers alike. Whether you have limited space with containers or expansive garden beds, this step-by-step approach delivers consistent results with minimal effort.
Understanding Potato Seeds and Seed Starting Basics
Before diving into the process, it's essential to understand that potatoes grow from "seed potatoes" rather than traditional seeds. These are actual potato tubers that produce sprouts when conditions are favorable. The easy method for starting potato seeds focuses on chitting (pre-sprouting) these seed potatoes to give your plants a head start on the growing season.
Why Chitting Matters for Maximum Yield
Chitting accelerates the growth process by forcing seed potatoes to develop strong, healthy sprouts before planting. This technique can increase your harvest by up to 20% compared to planting unsprouted tubers directly in soil. For gardeners in cooler climates especially, chitting provides crucial early vigor that translates into better yields come harvest time.
Choosing the Right Seed Potatoes for Beginners
Select certified disease-free seed potatoes from reputable suppliers. Popular beginner-friendly varieties include Yukon Gold, Red Pontiac, and Kennebec. These varieties offer excellent flavor, good storage potential, and strong disease resistance. Purchase seed potatoes approximately 4-6 weeks before your last expected frost date.
Step-by-Step Potatoes Seed Starting Easy Method
Step 1: Gather Your Materials
You'll need seed potatoes, shallow cardboard boxes or egg cartons, a cool room with indirect light, and a spray bottle for moisture. Keep temperatures between 50-60°F (10-15°C) for optimal sprouting conditions. This simple setup requires no special equipment and costs less than $10 to assemble.
Step 2: Prepare Seed Potatoes for Chitting
Place your seed potatoes in a single layer with the "eyes" (sprouting points) facing upward. The eyes naturally orient themselves toward light, which encourages sturdy, green sprouts rather than long, fragile ones. Avoid stacking potatoes, as this leads to uneven sprouting and potential rot issues.
Step 3: Create Optimal Chitting Conditions
Position your prepared potatoes in a bright location with temperatures around 55°F (13°C). A windowsill, greenhouse, or unheated room works excellently for this purpose. Light exposure turns sprouts green and robust, while cool temperatures prevent excessive elongation. Maintain gentle air circulation to prevent fungal problems.
Step 4: Monitor Sprout Development
Expect visible sprouts within 2-4 weeks depending on variety and conditions. Healthy sprouts should be 1-2 inches long with a sturdy, compact appearance. Discard any potatoes showing signs of rot, excessive softness, or withering. Only plant the strongest, most vigorous seed potatoes for best results.
Planting Your Chitted Seed Potatoes
Timing Your Planting Correctly
Plant chitted seed potatoes 2-3 weeks before your last frost date when soil temperatures reach 45°F (7°C). In raised beds and containers, soil warms faster, allowing earlier planting. For maximum yield in small spaces, timing becomes especially critical—plant too early and frost damages sprouts; plant too late and heat stress reduces tuber production.
Planting Depth and Spacing Guidelines
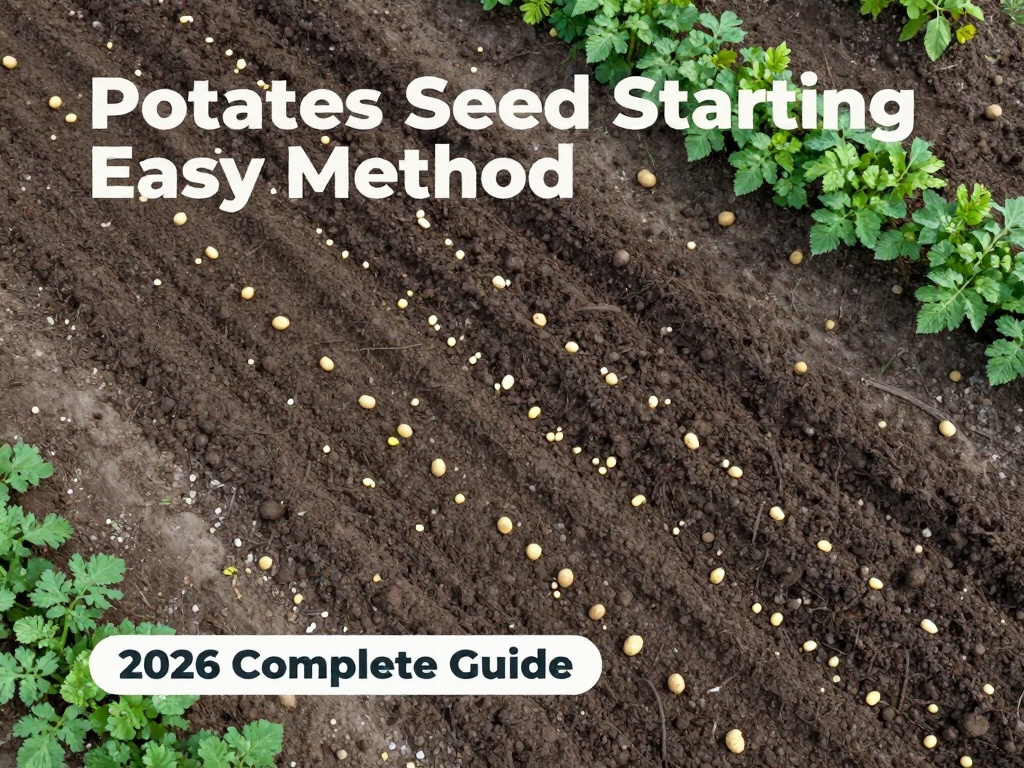
Dig trenches 4-6 inches deep, placing sprouted potatoes with eyes pointing upward. Space seed potatoes 12 inches apart within rows, with rows separated by 3 feet. In containers, plant one seed potato per 5-gallon bucket, or two potatoes in larger containers. This spacing ensures adequate room for hilling and proper air circulation.
Hilling Techniques for Healthier Plants
Once green shoots emerge 2-3 inches above soil, begin hilling by mounding soil around the base of plants. Repeat this process every 2-3 weeks until plants flower. Hilling prevents tubers from exposure to sunlight (which causes greening and solanine production), promotes additional tuber formation along buried stems, and keeps weeds under control.
Common Mistakes to Avoid
Overwatering During Chitting
Excess moisture during the chitting phase leads to rot and fungal disease. Seed potatoes contain sufficient moisture to support sprouting without additional water. Only mist lightly if room air proves extremely dry. This simple adjustment dramatically improves success rates for beginners growing potatoes from seed.
Using Grocery Store Potatoes
Store-bought potatoes often carry diseases, have been treated with growth inhibitors, and may not suit your local growing conditions. Always purchase certified seed potatoes from trusted suppliers. While this requires a small investment, it prevents disappointment from diseased crops and ensures varieties perform well in your specific climate.
Planting Too Deep or Shallow
Planting deeper than 6 inches delays emergence and weakens sprouts, while planting too shallow exposes developing tubers to sunlight. Consistent planting depth at 4-6 inches provides the ideal balance for strong emergence and proper tuber development in most soil types.
Caring for Your Potato Plants Through the Season
Watering Requirements
Potatoes need consistent moisture, especially during tuber formation after flowering begins. Provide 1-2 inches of water weekly through rainfall or irrigation. Irregular watering causes cracked, hollow, or malformed tubers. Mulching with straw helps retain moisture and regulates soil temperature throughout the growing season.
Feeding for Maximum Yield
Apply balanced fertilizer at planting and again when plants reach 6 inches tall. Avoid high-nitrogen fertilizers after flowering, as excess nitrogen promotes leafy growth at the expense of tuber development. For organic potato gardening, compost and well-rotted manure provide excellent nutrition without synthetic chemicals.
Pest and Disease Management
Monitor regularly for aphids, Colorado potato beetles, and leafhoppers. Remove pests by hand when possible or use organic insecticidal soap for severe infestations. Prevent blight by ensuring adequate plant spacing, avoiding overhead watering, and removing infected foliage promptly. Healthy plants resist most problems naturally.
Harvesting and Storage Success
Knowing When to Harvest
New potatoes can be harvested 2-3 weeks after flowering for tender, thin-skinned tubers. For storage potatoes, wait until foliage dies back completely, typically 2-4 weeks after plants yellow. This curing period allows skins to thicken, improving storage longevity and disease resistance.
Proper Curing and Storage Techniques
Cure harvested potatoes in a dark, cool location (50-60°F) for 1-2 weeks before long-term storage. Store in breathable containers in darkness at 40-45°F with moderate humidity. Check stored potatoes monthly and remove any showing signs of rot. Properly stored potatoes last 4-6 months.
FAQ
How long does it take to chit seed potatoes?
The chitting process typically takes 4-6 weeks depending on variety and temperature conditions. Warmer temperatures (55-60°F) speed sprouting, while cooler conditions slow development but often produce sturdier sprouts. Most gardeners begin chitting 4-6 weeks before their planned planting date.
Can I start potatoes seed starting in containers?
Absolutely! Containers work excellently for potatoes seed starting, particularly for beginners growing potatoes in small spaces. Use 5-gallon buckets or fabric grow bags with drainage holes. Fill with 4 inches of soil, place sprouted potatoes, and add soil as plants grow. Containers warm faster in spring, enabling earlier planting.
What's the biggest mistake beginners make with seed potatoes?
The most common error is planting too early in cold, wet soil. Potatoes require soil temperatures of at least 45°F for proper growth. Cold soil stunts development and increases disease risk. Always check soil temperature with a thermometer before planting, and consider using black containers that absorb heat to warm soil faster.
Do I need special equipment for the easy seed starting method?
No special equipment is required. The easy method uses simple materials: shallow boxes, egg cartons, or trays to hold seed potatoes upright. A cool, bright location serves as your chitting space. This low-cost, simple approach makes potato growing accessible to any gardener with basic supplies.
When will I see results from planting chitted seed potatoes?
Visible sprouts emerge within 2-3 weeks after planting in warm soil. Within 60-90 days, most varieties begin flowering, indicating tuber formation has started. Harvest of new potatoes can begin shortly after flowering, while full-sized storage potatoes require 90-120 days depending on variety and growing conditions.
How much does starting potatoes from seed cost compared to buying transplants?
Starting from seed potatoes costs significantly less than purchasing transplants. Certified seed potatoes cost $0.25-0.50 per tuber, while transplants often cost $2-5 each. A $10 bag of seed potatoes can produce 30-40 plants versus $60-200 for equivalent transplants, making this method extremely cost-effective for home gardeners.
Can I save seed potatoes from my harvest for next year?
While technically possible, saved seed potatoes may carry diseases accumulated over seasons. Certified seed potatoes undergo rigorous disease testing, ensuring clean stock. For reliability, most experts recommend purchasing fresh certified seed potatoes annually. If saving seed potatoes, select only from your healthiest, most vigorous plants and never save from plants showing disease symptoms.
No comments