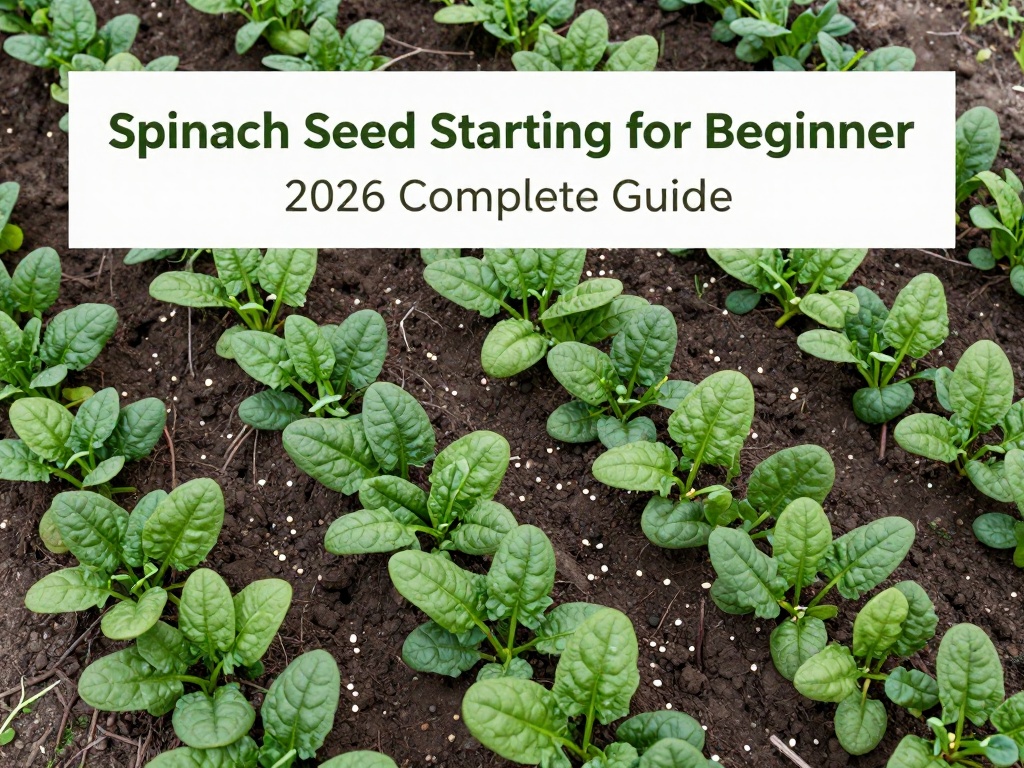
Spinach Seed Starting for Beginners: 2026 Complete Guide
Spinach Seed Starting for Beginners: 2026 Complete Guide
Spinach seed starting for beginners opens the door to one of the most rewarding vegetables you can grow in your garden. Whether you have a sprawling backyard or a small container on your balcony, spinach adapts remarkably well to various growing conditions. This comprehensive guide walks you through every step of the process, ensuring you can enjoy fresh, nutritious spinach harvested from your own plants.
Why Grow Spinach from Seeds?
Starting spinach from seeds offers significant advantages over purchasing transplants. Seeds provide a wider variety selection, including heirloom and organic options that nurseries rarely stock. Additionally, seed starting is remarkably cost-effective—a single packet of spinach seeds produces dozens of plants at a fraction of the cost of nursery seedlings. This organic method also ensures you have complete control over your plants from the very beginning.
Benefits of Direct Seed Starting
Spinach develops an extensive taproot system that dislikes disturbance. By starting seeds directly where they'll grow, you eliminate transplant shock and promote stronger, healthier plants. This approach works equally well for raised beds, in-ground gardens, and containers, making it perfect for beginners working in small spaces.
Understanding Spinach Seed Germination
Successful spinach seed starting begins with understanding germination requirements. Spinach seeds germinate best in soil temperatures between 50°F and 70°F (10°C to 21°C). In these conditions, germination typically occurs within 5 to 10 days. Cooler temperatures slow germination significantly, while soil above 75°F (24°C) can cause poor or uneven germination—a common issue many beginners encounter.
When to Start Spinach Seeds
Spinach thrives in cool weather and tolerates light frosts, making it ideal for both spring and fall planting. For spring gardens, sow seeds 4 to 6 weeks before your last expected frost date. Fall planting works best when seeds go into the ground 6 to 8 weeks before the first autumn frost. In mild climates, you can even grow spinach throughout winter months.
Step-by-Step Spinach Seed Starting Process
Preparing Your Soil
Spinach demands rich, well-draining soil with a pH between 6.0 and 7.5. Before planting, work 2 to 3 inches of compost into the top 6 inches of soil. This organic matter improves drainage while providing essential nutrients for strong seedling development. Avoid heavy clay soils that compact easily and cause waterlogging, as spinach roots need oxygen to develop properly.
Planting Depth and Spacing
Plant spinach seeds at a depth of ½ inch (1.25 cm), pressing soil gently over the planted area. Space seeds 2 to 3 inches apart in rows, with rows 12 to 18 inches apart. This spacing allows adequate air circulation while maximizing your garden's productive area. For container growing, plant 3 to 4 seeds per 12-inch pot.
Watering Requirements
Maintain consistent moisture during germination without waterlogging the soil. Water gently after planting using a fine spray to avoid displacing seeds. Covering the area with a thin mulch layer helps retain moisture and regulate soil temperature. Once seedlings emerge, water deeply but infrequently, allowing the top inch of soil to dry between waterings.
Germination Tips for Maximum Yield
To boost germination rates, consider soaking seeds in room-temperature water for 12 to 24 hours before planting. This softens the seed coat and accelerates sprouting. Pre-sprouting on a damp paper towel is another effective technique—place seeds on a moist paper towel, fold it gently, and keep it in a sealed plastic bag until roots appear, then transfer carefully to soil.
Managing Temperature Challenges
Spring gardeners facing warm soil conditions should mulching with light-colored materials to reflect heat. Alternatively, plant in partially shaded areas that stay cooler. Fall gardeners have a natural advantage, as cooling temperatures create ideal germination conditions naturally.
Thinning and Seedling Care
Once seedlings develop their second set of true leaves, thin them to 4 to 6 inches apart. Don't discard thinned seedlings—transplant them to fill gaps or enjoy as baby greens. Continue monitoring spacing as plants mature, eventually thinning to 8 to 12 inches for full-sized spinach leaves.
Fertilizing Young Seedlings
Apply a balanced, water-soluble fertilizer diluted to half strength once seedlings establish their first true leaves. Organic options like fish emulsion or compost tea work excellently for those pursuing natural gardening methods. Avoid over-fertilizing, which promotes excessive leaf growth at the expense of root development.
Common Mistakes to Avoid
Beginners often plant seeds too deeply, resulting in weak or failed germination. Always adhere to the ½ inch planting depth guideline. Another frequent error involves inconsistent watering—either letting soil dry completely or keeping it waterlogged. Both conditions stress seedlings and reduce yield potential. Finally, resist the temptation to plant too early in spring; cold-tolerant spinach still performs best when soil has warmed sufficiently.
Transplanting vs Direct Sowing
While direct sowing produces the best results, starting seeds in biodegradable pots allows transplanting with minimal root disturbance. This method suits gardeners with short growing seasons who want a head start. Plant the entire pot in the garden, and it will decompose naturally while protecting the developing root system.
Growing Spinach in Containers
Container gardening offers excellent results for spinach seed starting. Choose pots at least 6 inches deep with adequate drainage holes. Use high-quality potting mix rather than garden soil, as potting mix provides better drainage and aeration. Position containers where they'll receive 4 to 6 hours of sunlight daily, providing afternoon shade in hotter climates.
Harvesting Your Spinach
Begin harvesting outer leaves when they reach 3 to 4 inches in length, typically 40 to 50 days after germination. This cut-and-come-again method encourages continued production throughout the season. For baby spinach, harvest younger leaves at 2 to 3 inches for tender, mild-flavored greens.
FAQ: Spinach Seed Starting for Beginners
How long does spinach take to germinate?
Spinach seeds typically germinate within 5 to 10 days under optimal conditions with soil temperatures between 50°F and 70°F. Cooler temperatures can extend this timeline to 2 to 3 weeks, while excessively warm soil above 75°F may cause poor or failed germination.
Can I start spinach seeds indoors?
Yes, you can start spinach seeds indoors, but direct sowing generally produces better results due to spinach's sensitive taproot. If starting indoors, use biodegradable pots to minimize root disturbance during transplanting, and begin only 3 to 4 weeks before your target transplant date.
What is the best spinach variety for beginners?
Bloomsdale and Space varieties offer excellent choices for beginners due to their disease resistance and cold tolerance. Space spinach particularly excels in fall gardens, while Bloomsdale handles spring conditions admirably. Both produce crinkled leaves with excellent flavor.
Why are my spinach seeds not germinating?
Common causes include planting too deep, soil temperatures that are too high or too low, insufficient moisture, or old seeds with reduced viability. Ensure you're planting at ½ inch depth, maintaining soil between 50°F and 70°F, and using fresh seeds less than two years old.
How often should I water spinach seedlings?
Water spinach seedlings when the top inch of soil feels dry, typically every 2 to 3 days depending on weather conditions. Deep, thorough waterings encourage deeper root growth. During hot weather, you may need to water daily, while cool, cloudy periods require less frequent irrigation.
What pests affect spinach seedlings?
Aphids, flea beetles, and slugs commonly target young spinach plants. Monitor seedlings regularly and address infestations promptly using organic methods like neem oil spray for aphids, handpicking for slugs, and row covers to protect against flea beetles.
No comments