Hydrangeas Growing Step by Step: 2026 Complete Guide
Hydrangeas Growing Step by Step: 2026 Complete Guide
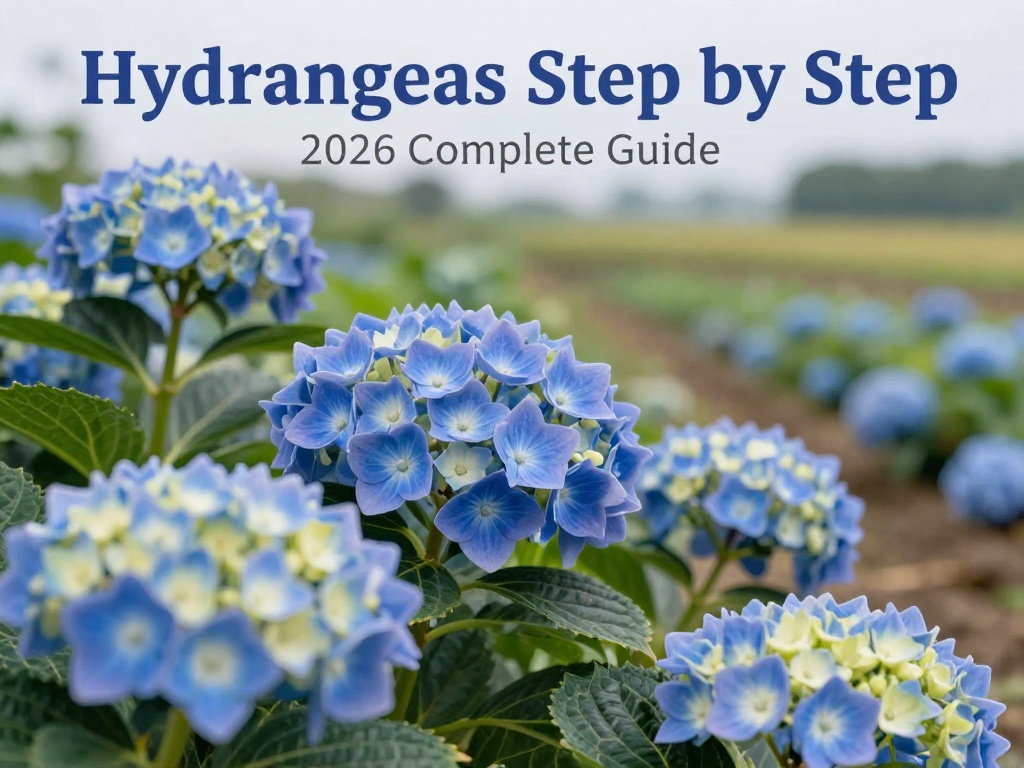
Hydrangeas are among the most beloved flowering shrubs in gardens worldwide, and learning hydrangeas growing step by step will transform your landscape with stunning blooms season after season. These versatile plants offer spectacular flower clusters in shades of blue, pink, white, and purple, making them a gardener's favorite for borders, containers, and foundation plantings. This comprehensive 2026 guide walks you through every stage of growing beautiful hydrangeas, from selecting the right variety to mastering essential care techniques.
Understanding Hydrangea Types Before You Start
Before beginning your hydrangeas growing step by step journey, it's essential to choose the right variety for your climate and garden conditions. Bigleaf hydrangeas (Hydrangea macrophylla) produce the classic mophead and lacecap flowers that change color based on soil pH. Panicle hydrangeas (Hydrangea paniculata) offer cone-shaped blooms and excellent cold hardiness, making them perfect for northern gardens.
Bigleaf Hydrangeas for Beginners
Bigleaf varieties thrive in USDA zones 5-9 and prefer afternoon shade in hotter climates. These are the hydrangeas that produce those iconic blue flowers in acidic soil or pink blooms in alkaline conditions. For beginners seeking reliable performance, 'Endless Summer' remains one of the most popular reblooming selections.
Smooth and Panicle Hydrangeas for Cold Climates
Smooth hydrangeas (Hydrangea arborescens) like 'Annabelle' tolerate colder temperatures down to zone 3 and bloom reliably even after harsh winters. Panicle hydrangeas handle zones 3-8 and produce dramatic elongated flower clusters that age beautifully from white to pink or bronze.
Step 1: Choosing the Perfect Location
Successful hydrangeas growing step by step begins with selecting an appropriate planting location that provides the right balance of light and protection. Hydrangeas generally prefer morning sun and afternoon shade, especially in warmer climates where intense afternoon heat can stress the plants and fade blooms prematurely.
Look for a spot that receives 4-6 hours of direct sunlight daily, with protection from strong winds that can damage the flower heads and brittle stems. Morning sun is ideal because it dries dew quickly, reducing the risk of fungal diseases that thrive in moist conditions.
Soil Requirements for Healthy Growth
Hydrangeas thrive in rich, well-draining soil with abundant organic matter. The soil pH significantly influences bloom color in bigleaf varieties—acidic soils below pH 6.0 produce blue flowers, while alkaline soils above pH 7.0 create pink blooms. Testing your soil before planting helps you understand what amendments may be needed.
Step 2: Preparing the Planting Site
Proper site preparation sets the foundation for thriving hydrangeas, and this step by step approach ensures lasting success in your garden. Begin by clearing the planting area of weeds, rocks, and debris that could compete with your new shrubs for nutrients and water.
Dig a hole twice as wide as the root ball but only as deep as the container depth—this prevents the plant from settling too deeply, which can cause root rot. Mix compost or well-rotted manure into the native soil at a 50/50 ratio to improve drainage and fertility.
Amending Soil Based on Desired Bloom Color
If you want blue hydrangea blooms, work elemental sulfur into the soil to lower pH, or add aluminum sulfate according to package directions. For pink blooms, incorporate garden lime to raise soil pH. These amendments work best when mixed into the backfill soil before planting.
Step 3: Planting Your Hydrangeas Correctly
The actual planting process is straightforward when following these hydrangeas growing step by step instructions. Gently remove the hydrangea from its container and inspect the root system—if roots are tightly circling, make three or four vertical cuts through the root ball to encourage outward growth.
Place the plant in the center of your prepared hole, ensuring the top of the root ball sits level with or slightly above the surrounding soil surface. Backfill with your amended soil mixture, firming gently around the roots to eliminate air pockets. Water deeply until the soil is thoroughly moist.
Spacing Guidelines for Mature Plants
Most hydrangea varieties need 3-6 feet of spacing between plants to allow adequate air circulation and room for mature growth. Check the specific variety's expected mature width and plan accordingly—crowded plants are more susceptible to powdery mildew and other fungal issues.
Step 4: Watering Techniques for Maximum Hydration
Consistent moisture is crucial during the first growing season as your hydrangeas establish extensive root systems. Water deeply at the base of the plant rather than overhead to keep foliage dry and prevent disease—aim for 1 inch of water weekly, either from rainfall or supplemental irrigation.
The leaves droop slightly during hot afternoons, which is normal and not necessarily a sign of water stress. Check the soil moisture by inserting your finger 2-3 inches deep near the root zone—if it feels dry, water immediately. Drip irrigation systems or soaker hoses work excellently for maintaining consistent soil moisture.
Mulching Benefits and Techniques
Apply 2-3 inches of organic mulch around the base of your hydrangeas, keeping it several inches away from the stem to prevent rot. Mulch conserves moisture, regulates soil temperature, suppresses weeds, and gradually decomposes to improve soil structure. Shredded bark, compost, or pine needles all make excellent mulching materials.
Step 5: Fertilizing for Abundant Blooms
Feeding your hydrangeas at the right time with appropriate nutrients promotes vigorous growth and spectacular flower production. Apply a balanced, slow-release fertilizer formulated for flowering shrubs in early spring as new growth emerges, following package directions carefully to avoid over-fertilization.
Avoid high-nitrogen fertilizers that promote lush foliage at the expense of blooms—look for formulas with higher phosphorus content (the middle number) to encourage flower development. A second light application in early summer benefits reblooming varieties like 'Endless Summer' that produce flowers on both old and new wood.
Step 6: Pruning Techniques for Healthy Plants
Pruning requirements vary significantly among hydrangea species, making correct identification essential before you begin cutting. Bigleaf hydrangeas bloom on old wood, so prune them immediately after flowering in summer to avoid removing next season's flower buds. Remove spent blooms and cut back overgrown stems to maintain shape.
Panicle and smooth hydrangeas bloom on new wood and can be pruned more aggressively in late winter or early spring before growth begins. Cut these varieties back to 1-3 feet from the ground to encourage strong new stems and larger flower heads. Remove dead or damaged wood at any time of year.
Winter Protection Strategies
In colder climates, protect tender hydrangeas by wrapping them with burlap or applying extra mulch around the base in late fall. This prevents winter damage to flower buds on bigleaf varieties that bloom on old wood. Remove protective coverings gradually in spring as temperatures warm to prevent overheating.
Troubleshooting Common Hydrangea Problems
Even with careful attention, hydrangeas sometimes encounter issues that affect their appearance and health. Yellow leaves often indicate iron chlorosis in alkaline soils—apply iron chelate or lower soil pH with sulfur to correct this deficiency. Wilting despite adequate water sometimes signals root problems or heat stress rather than insufficient moisture.
Fungal diseases like powdery mildew and leaf spot appear as white powdery coatings or brown spots on foliage. Improve air circulation by proper spacing, water at soil level, and remove affected leaves promptly. Insect pests including aphids, spider mites, and Japanese beetles may require horticultural oil or insecticidal soap applications.
Seasonal Care Calendar for Year-Round Success
Following a seasonal care routine ensures your hydrangeas receive appropriate attention throughout the year. Spring brings new growth and the ideal time for fertilizing and applying fresh mulch. Summer requires consistent watering during dry periods and deadheading spent blooms to encourage continued flowering on reblooming varieties.
Fall is the time to plant new hydrangeas, allowing roots to establish before winter dormancy. Apply a final deep watering before the ground freezes, and in cold climates, install winter protection for tender varieties. Winter is a period of dormancy—avoid fertilizing and minimize pruning to let your hydrangeas rest naturally.
FAQ: Growing Hydrangeas Step by Step
What is the best time of year to plant hydrangeas?
The ideal planting time depends on your climate. In northern regions, plant hydrangeas in spring after the last frost to give them a full growing season to establish. In warmer southern climates, fall planting allows roots to settle during mild winter months before summer heat arrives. Container-grown hydrangeas can be planted throughout the growing season with extra attention to watering.
How long does it take for newly planted hydrangeas to bloom?
Most hydrangeas begin producing flowers within 2-3 years of planting, though established nursery specimens may bloom the first season if planted at the right time. Reblooming varieties like 'Endless Summer' tend to flower more quickly than traditional varieties. Patience is essential—proper care during the establishment phase ensures abundant blooms in subsequent years.
Why aren't my hydrangeas producing flowers?
Several factors can prevent hydrangea blooms, including improper pruning that removes flower buds, winter damage to old wood in cold climates, insufficient sunlight (less than 3 hours daily), over-fertilization with nitrogen, young plants that aren't mature enough to bloom, and drought stress during bud formation. Evaluate each potential cause and adjust your care practices accordingly.
Can hydrangeas grow in containers on a patio or balcony?
Hydrangeas adapt well to container growing when provided with adequate pot size, drainage, and consistent moisture. Choose compact varieties like 'Mini Penny' or 'Pia' for smaller spaces. Use a quality potting mix, ensure the container has drainage holes, and water more frequently than in-ground plants since containers dry out faster. Move containers to sheltered locations during harsh winters.
How much maintenance do hydrangeas require annually?
Hydrangeas are relatively low-maintenance once established, requiring basic care including spring fertilizing, regular watering during dry periods, annual mulching, and appropriate pruning based on species. Plan for 2-4 hours of maintenance work per established hydrangea yearly, plus additional time if you adjust soil pH for bloom color changes. The stunning visual impact far outweighs the minimal effort required.
What is the cost of growing hydrangeas compared to other garden plants?
Hydrangea plants typically cost $15-40 for nursery specimens, with premium or unusual varieties reaching $50 or more. Compared to annual flowers that require replacement each year, hydrangeas offer excellent long-term value as permanent landscape features. The main ongoing expenses include mulch, occasional fertilizer, and basic pruning tools—making hydrangeas one of the most cost-effective choices for lasting garden beauty.
No comments