2026 Guide: Herb Seed Starting Indoors for Beginners
2026 Guide: Herb Seed Starting Indoors for Beginners
Starting herb seeds indoors is one of the most rewarding ways to kickstart your garden while bypassing unpredictable outdoor conditions. Whether you dream of fresh basil for your kitchen or cilantro at your fingertips year-round, learning how to start herb seeds indoors gives you complete control over your plants from day one. This comprehensive 2026 grower's guide covers everything you need for successful indoor herb seed starting, from choosing the right seeds to transplanting healthy seedlings into their permanent homes.
Why Start Herb Seeds Indoors?
Starting seeds indoors offers several compelling advantages for herb gardeners in any climate zone. You gain a significant head start on the growing season—typically 6 to 8 weeks before your last frost date—allowing herbs more time to mature and produce abundantly throughout summer.
Benefits of Indoor Seed Starting
- Extended harvest window with earlier maturity
- Greater variety selection beyond nursery transplants
- Stronger, more resilient seedlings compared to store-bought plants
- Cost-effective way to grow multiple plants
- Complete control over growing conditions from germination
Best Herbs for Starting Indoors in 2026
Not all herbs benefit equally from indoor seed starting. Some varieties thrive when started early inside, while others prefer direct sowing outdoors.
Ideal Herbs for Indoor Seed Starting
Basil ranks among the most popular choices for starting indoors. This warm-loving herb benefits enormously from the head start, producing lush foliage weeks earlier than direct-sown plants. Other excellent candidates include parsley, cilantro, thyme, oregano, and chives. These herbs germinate reliably under indoor conditions and transplant well once established.
Herbs Better Suited for Direct Sowing
Some herbs develop deep taproots that resent transplanting and fare better when sown directly in containers or garden beds. Dill, fennel, and borage fall into this category. Focus your indoor seed starting efforts on the transplant-friendly varieties listed above for the best success rates.
Essential Supplies for Indoor Herb Seed Starting
Gathering quality supplies before beginning ensures your herb seed starting journey starts on the right foot. Fortunately, basic setups require minimal investment.
Container Options
Seed starting containers range from professional seed trays with humidity domes to recycled household items like yogurt cups and egg cartons. The critical requirement is adequate drainage holes to prevent waterlogging. Cell trays with individual compartments work exceptionally well for herbs, preventing root entanglement between seedlings.
Quality Seed Starting Mix
Standard garden soil proves too heavy and potentially contaminated for indoor seed starting. Invest in a sterile, lightweight seed starting mix specifically formulated for germination. These mixes contain perlite and vermiculite for optimal drainage and aeration while retaining enough moisture for tender seedlings.
Lighting Requirements
While sunny windowsills work for some situations, most indoor seed starting benefits from supplemental grow lights. Fluorescent shop lights or LED grow灯 systems positioned 2 to 4 inches above seedlings for 14 to 16 hours daily produce stocky, vigorous growth. Without adequate light, seedlings become leggy and weak.
Step-by-Step Herb Seed Starting Process
Timing Your Seed Starting
Calculate your seed starting date by counting backward from your area's last expected frost. Most herb seeds require starting 6 to 8 weeks before transplanting date. For example, if your last frost arrives around mid-May, begin seed starting in late March or early April.
Preparing Your Containers
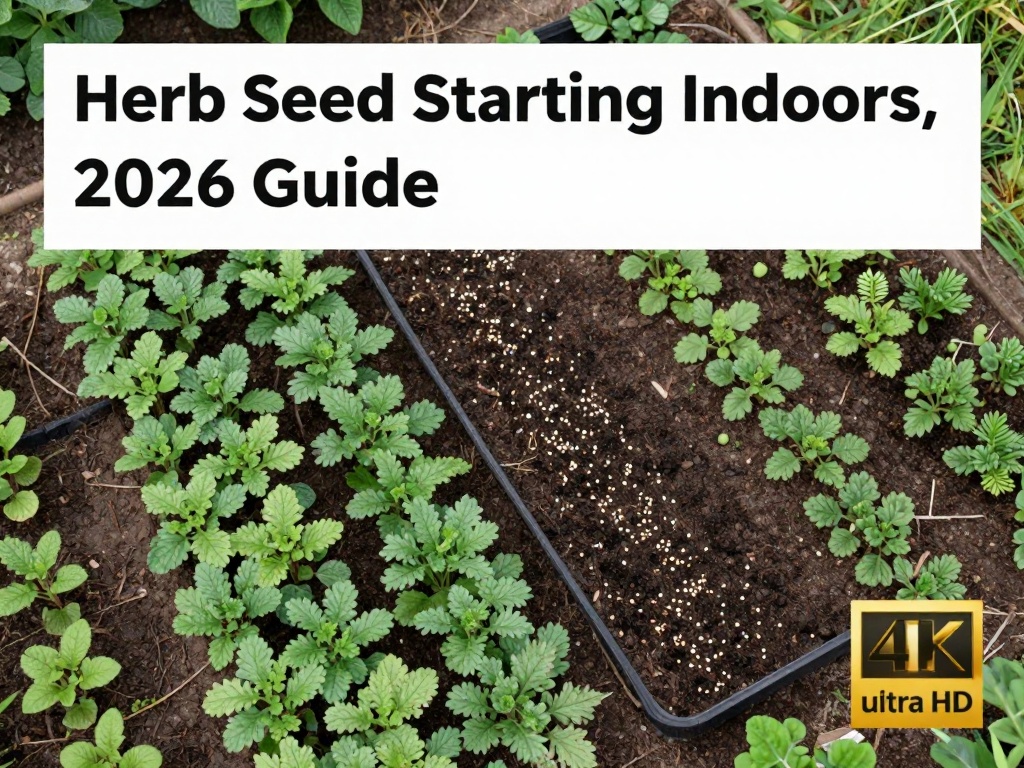
Fill clean containers with dampened seed starting mix, leaving approximately 1/4 inch of space at the top. Gently firm the soil surface without compressing it excessively. Water thoroughly and allow containers to drain completely before planting seeds.
Planting Herb Seeds
Read seed packets carefully for specific depth requirements—generally, plant seeds at a depth equal to twice their diameter. Smaller seeds like basil and oregano require barely any covering, while larger seeds like peas need deeper planting. Moisten the soil surface before placing seeds, then cover lightly with dry mix and mist gently.
Creating Optimal Germination Conditions
Cover containers with clear plastic domes or plastic wrap to maintain humidity during germination. Position containers in a warm location—most herb seeds germinate best between 65°F and 75°F. Check daily for moisture and signs of emergence. Once sprouts appear, remove covers immediately to prevent fungal diseases.
Light and Temperature for Thriving Seedlings
Transitioning to Grow Lights
Move newly germinated seedlings under grow lights immediately. Maintain lights on a timer for 14 to 16 hours daily, positioning them just 2 to 4 inches above the seedling tops. Raise lights as seedlings grow to maintain this distance.
Temperature Management
After germination, most herbs prefer cooler temperatures—around 60°F to 70°F during the day. This slightly cooler environment encourages strong root development and prevents leggy growth. Avoid placing seedlings near cold windows or heating vents that create temperature fluctuations.
Watering and Fertilizing Young Seedlings
Proper Watering Techniques
Overwatering causes more seedling failures than underwatering. Water thoroughly when the soil surface begins drying, allowing excess water to drain freely. Bottom watering—setting containers in trays of water—encourages deep root growth and prevents fungal issues on foliage.
When to Begin Fertilizing
Seed starting mixes contain minimal nutrients, so supplemental feeding becomes necessary once seedlings develop their second set of true leaves. Apply a diluted, balanced liquid fertilizer at half the recommended strength every 7 to 10 days. Organic options like fish emulsion or kelp extract provide gentle nutrition for young plants.
Hardening Off Seedlings Before Transplanting
Hardening off gradually acclimates indoor-grown seedlings to outdoor conditions. Begin this process 7 to 10 days before transplanting by placing seedlings outside in a sheltered, shaded location for increasing periods daily.
Hardening Off Schedule
Start with 1 to 2 hours of outdoor time, gradually increasing exposure to direct sun and cooler temperatures. By transplant day, seedlings should tolerate full sun and ambient outdoor temperatures. This gradual transition prevents transplant shock and ensures healthier, more adaptable plants.
Common Mistakes in Herb Seed Starting
Avoiding These Critical Errors
Starting seeds too early creates oversized, root-bound seedlings that struggle after transplanting. Insufficient light remains the most common cause of weak, leggy plants. Inconsistent watering stresses seedlings and invites disease. Finally, skipping the hardening off process often results in transplant failure or severe shock.
Troubleshooting Seedling Problems
Damping Off Prevention
Damping off—a fungal disease causing sudden seedling collapse—devastates seed starting efforts. Prevent this disease by using sterile equipment, avoiding overwatering, ensuring adequate air circulation, and maintaining proper spacing between seedlings.
Addressing Leggy Seedlings
Leggy seedlings indicate insufficient light. While you cannot fix existing elongation, you can prevent further problems by immediately moving plants closer to light sources. Future sowings should begin under proper lighting from day one.
Final Thoughts on Indoor Herb Seed Starting
Mastering herb seed starting indoors opens endless possibilities for culinary and medicinal herb gardens. The process requires patience and attention to detail, but the rewards—thriving plants, abundant harvests, and the satisfaction of growing from seed—make every effort worthwhile. Start small with 2 or 3 easy varieties, perfect your technique, and expand your indoor seed starting operation year after year.
Frequently Asked Questions
What is the easiest herb to start from seed indoors?
Basil ranks among the easiest herbs for indoor seed starting due to its rapid germination and vigorous growth. Parsley and chives also offer excellent success rates for beginners, sprouting reliably within 7 to 14 days under standard indoor conditions.
How long does it take to grow herbs from seed indoors?
Most herb seeds germinate within 7 to 21 days depending on the variety. Seedlings typically reach transplant size in 6 to 8 weeks under proper lighting and care. Complete time from seed to harvest varies by herb—basil produces harvestable leaves in as little as 8 to 10 weeks.
Do herb seeds need light to germinate?
Most herb seeds germinate fine without light, requiring only warmth and moisture. However, once sprouts emerge above the soil surface, they need immediate and consistent lighting to develop properly. Some very fine seeds, like oregano, actually benefit from light exposure during germination.
Can I use regular potting soil for starting herb seeds?
Regular potting soil is too heavy and may contain pathogens harmful to emerging seedlings. Seed starting mixes are specifically formulated with lighter textures and sterile conditions that promote healthy germination. Investing in quality seed starting mix significantly improves your success rate.
How much does starting herb seeds indoors cost?
Basic herb seed starting requires minimal investment—quality seeds cost $2 to $5 per packet, a bag of seed starting mix runs $8 to $15, and simple recycled containers are free. Adding grow lights increases initial costs to $30 to $60, but these lights last for years and serve many growing seasons.
What month should I start herb seeds indoors?
Starting time depends on your local climate and last frost date. For most temperate regions, February through April provides appropriate seed starting windows. Count backward 6 to 8 weeks from your expected transplant date to determine your specific starting month. Warmer zones may start earlier, while cooler climates push toward late spring.
No comments