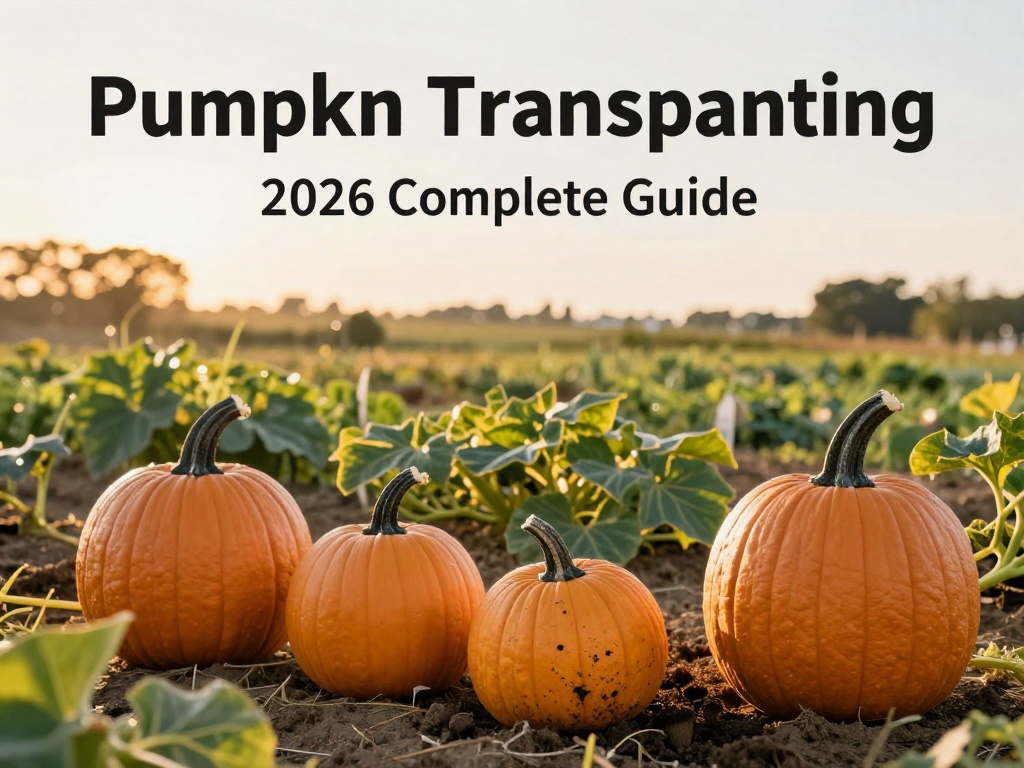
Pumpkin Transplanting for Beginners: 2026 Complete Guide
Pumpkin Transplanting for Beginners: 2026 Complete Guide
Growing pumpkins from transplants can be one of the most rewarding experiences for new gardeners. Successfully moving your seedlings from indoor comfort to the outdoor garden requires understanding timing, technique, and proper care. This complete guide walks you through every step of pumpkin transplanting for beginners, ensuring your seedlings establish strong roots and thrive throughout the growing season.
Why Transplant Pumpkin Seedlings?
Transplanting offers several advantages over direct seeding. Starting seeds indoors gives you a head start of 2-3 weeks on the growing season, which is especially valuable in regions with short summers. Transplants also allow you to select the strongest seedlings and give them protection during vulnerable early growth stages.
For beginners learning pumpkin transplanting, this method reduces seed waste and gives you better control over plant spacing. Your pumpkins will benefit from controlled conditions early on, developing into healthier plants that are more resistant to pests and disease.
When to Transplant Pumpkins
Understanding Your Timing Window
The ideal time for transplanting pumpkins depends on soil temperature and your local frost dates. Wait until soil temperatures reach at least 60°F (16°C) consistently. In most regions, this translates to 2-3 weeks after the last expected frost date.
Pumpkins are warm-season crops that absolutely cannot tolerate frost. Transplant too early and cold soil will shock your seedlings. Transplant too late and you may not have enough growing days for your pumpkins to mature before fall frost.
Reading Seedling Readiness
Your pumpkin seedlings should have 2-3 true leaves before transplanting. True leaves are the second set of leaves that appear after the initial cotyledons. At this stage, the root system is developed enough to handle the transition to outdoor conditions.
Seedlings should be 6-8 inches tall with sturdy, dark green stems. Avoid transplanting leggy seedlings or those with yellowing leaves, as these indicate poor health that will worsen after transplanting.
Preparing Your Garden for Pumpkin Transplants
Soil Preparation Steps
Begin soil preparation at least two weeks before your planned transplant date. Pumpkins need well-draining soil rich in organic matter. Work 2-3 inches of compost into the top 8-12 inches of soil to improve drainage and fertility.
Test your soil pH and aim for a range between 6.0 and 6.8. If your soil is too acidic, add lime; if too alkaline, incorporate sulfur. Proper pH ensures nutrients are available to your developing plants.
Create mounds or hills spaced 4-6 feet apart. Mounds warm faster in spring and provide excellent drainage, reducing the risk of root rot during wet periods.
Hardening Off Your Seedlings
Hardening off is a critical step in pumpkin transplanting for beginners that cannot be skipped. This process acclimates indoor-grown seedlings to outdoor conditions over 7-10 days.
Start by placing seedlings outside for 1-2 hours in a shaded, protected area. Gradually increase exposure time and move plants into direct sunlight. By transplant day, your seedlings should be spending full days outdoors.
Step-by-Step Pumpkin Transplanting Process
Transplant on a cloudy day or in late afternoon to reduce transplant shock. Water seedlings thoroughly 1-2 hours before planting.
Dig holes slightly deeper and wider than your seedling containers. Remove seedlings carefully, keeping the root ball intact. Never pull seedlings by their stems, as this causes severe damage.
Place each seedling in its hole at the same depth it grew in the container. Backfill with soil, firming gently around the base. Water deeply immediately after planting to eliminate air pockets and establish good root-to-soil contact.
Apply a 2-3 inch layer of mulch around each plant, leaving a small gap around the stem. Mulch retains moisture, suppresses weeds, and keeps soil temperature stable.
Caring for Transplanted Pumpkin Seedlings
Water newly transplanted pumpkins deeply every 2-3 days for the first two weeks. Once established, reduce frequency but increase water volume. Pumpkins need 1-2 inches of water weekly, preferably from deep, infrequent watering rather than light frequent applications.
Monitor for transplant shock, which manifests as wilting, yellowing leaves, or slowed growth. If shock occurs, provide shade during the hottest part of the day and maintain consistent moisture. Most seedlings recover within 1-2 weeks.
Avoid fertilizing immediately after transplanting. Wait 2-3 weeks until seedlings show new growth, then apply a balanced fertilizer or side-dress with compost.
Common Transplanting Mistakes to Avoid
Planting too deep is a frequent error. Pumpkin stems should never be buried below the first set of true leaves. Deep planting encourages stem rot and weakens the plant.
Overwatering is equally problematic. While newly transplanted seedlings need moisture, waterlogged soil suffocates roots and invites fungal disease. Check soil moisture before watering by inserting your finger 2 inches deep.
Skipping hardening off guarantees transplant failure. Seedlings moved directly from indoor conditions to full sun will scorch and may die within hours.
FAQ
How long does it take for transplanted pumpkins to recover from transplant shock?
Most pumpkin seedlings recover from transplant shock within 7-14 days. During this period, focus on consistent watering and protection from extreme weather. If symptoms persist beyond two weeks, check for root damage or disease.
Should I fertilize pumpkins immediately after transplanting?
No, avoid fertilizing immediately after transplanting. Wait 2-3 weeks until you see new growth, then apply a balanced fertilizer. Early fertilization can burn delicate roots and stress already-vulnerable seedlings.
What's the best time of day to transplant pumpkins?
Late afternoon or evening is ideal for pumpkin transplanting. This timing allows seedlings to establish overnight without intense sun stress. Overcast days are even better for reducing transplant shock.
How much space do pumpkin plants need when transplanting?
Space pumpkin transplants 4-6 feet apart in rows 6-8 feet wide. Large varieties may need up to 8 feet between plants. Proper spacing ensures adequate airflow and prevents competition for nutrients and water.
Can I transplant pumpkins directly into containers or raised beds?
Yes, pumpkins adapt well to containers and raised beds. Use containers at least 5 gallons in size with good drainage. Raised beds warm faster in spring, making them excellent for earlier transplanting in cool climates.
What should I do if my pumpkin seedlings get frost after transplanting?
If frost threatens after transplanting, cover seedlings with frost cloth, plastic sheeting, or even buckets overnight. Remove covers in the morning once temperatures rise. Light frost may only damage leaves, and plants often recover if roots remained unharmed.
No comments